Kanelbullar
Our first time trying it in a café!!

RECIPE
4 hours—15 pieces—intermediate
These Swedish cinnamon rolls are to DIE for !!
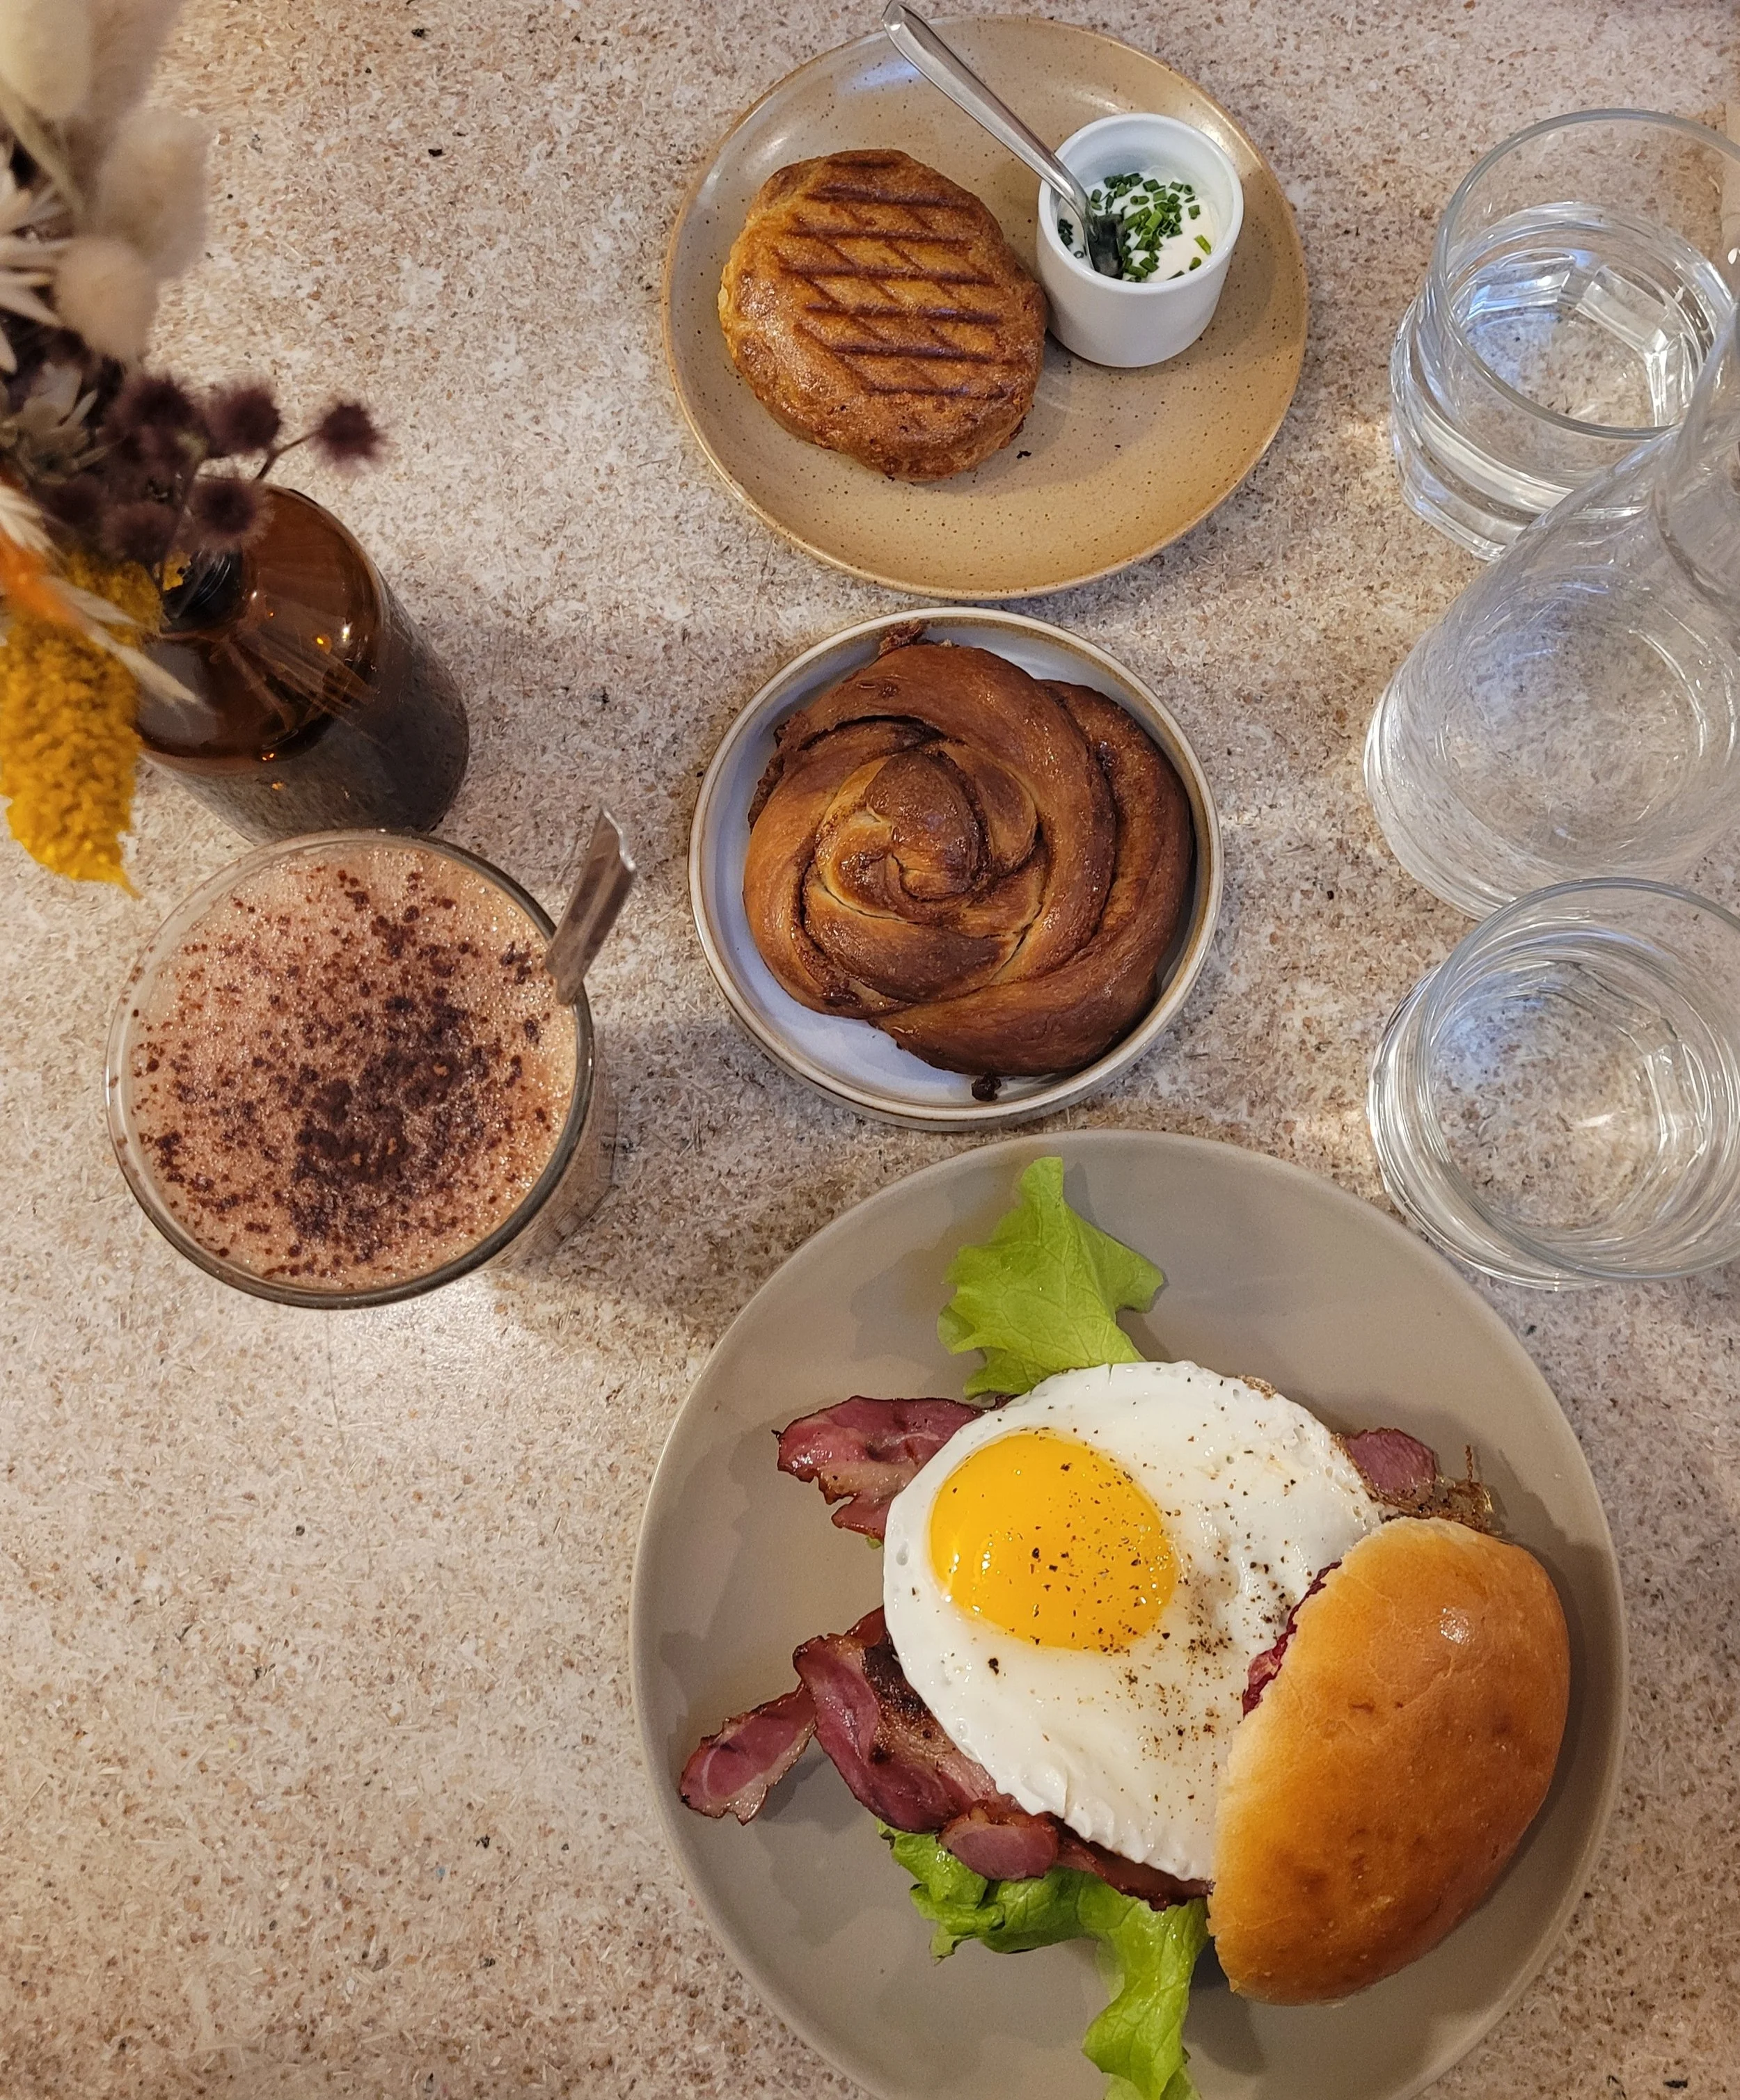
For my birthday, my boyfriend took me to a cute cafe to have BRUNCH (yes I’m fancy like that). There, I saw a name on the menu that sounded intriguing. And, of course, I had to get it.
2 weeks later, here I am making it at home, with a slight personal twist! I hope that anyone from Sweden who sees this likes it :)
Ingredients
For the dough
-415g AP flour
-35g granulated sugar
-25cl milk (I used whole cow milk)
-1/2 tsp of salt
-15g of fresh baker’s yeast (I used a tad too much in my recipe, 15g should be more than enough!)
-1 tsp ground cardamom
For the filling
-100g salted butter (I ONLYYY use salted)
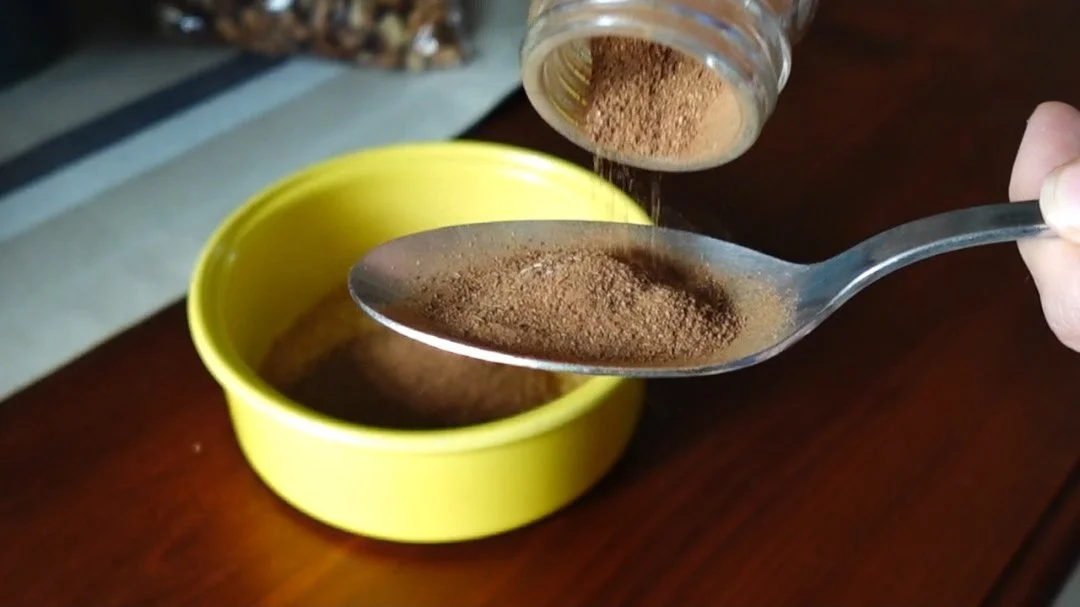
-2 or 3 tbsp ground cinnamon
-1 tsp ground cardamom (it can be really fragrant so be careful)
-80g brown or light brown sugar (I used light brown)
-Optional: 1 tsp vanilla powder/extract + 1 tsp “gingerbread spices mix”

Steps
Make the dough
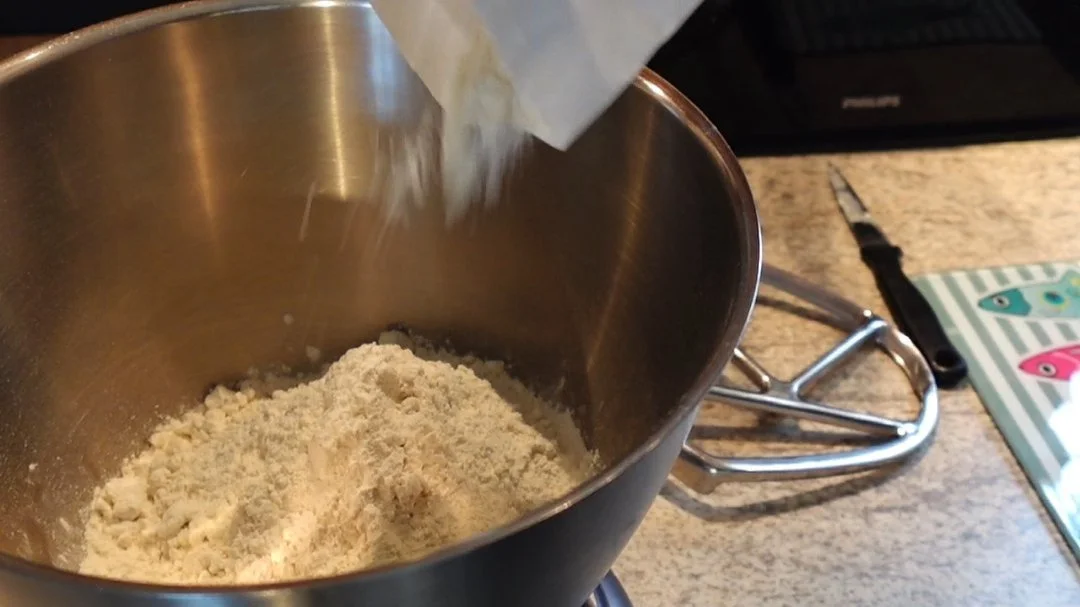
Mix in a bowl the dry ingredients (flour, sugar, yeast, cardamom) but the salt. (sodium kills yeast)
Meanwhile, heat on low-heat the butter and milk. The butter should melt but make sure it never boils: it needs to stay lukewarm so the heat doesn’t kill the yeast.
When the butter and milk are warm and melted (it should barely feel warm to your skin), mix it with the dry ingredients and add the salt.
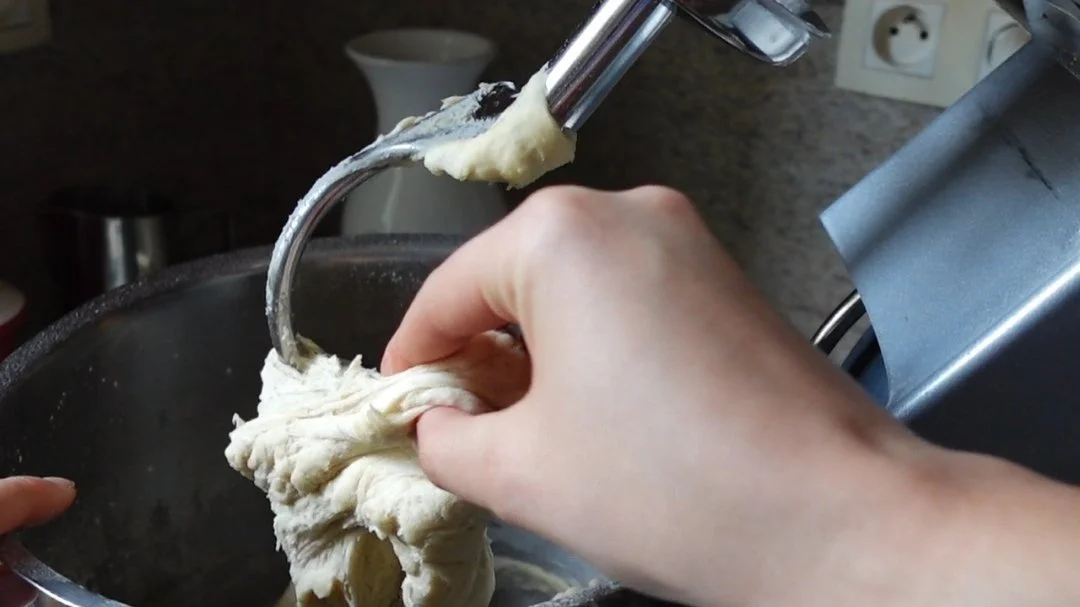
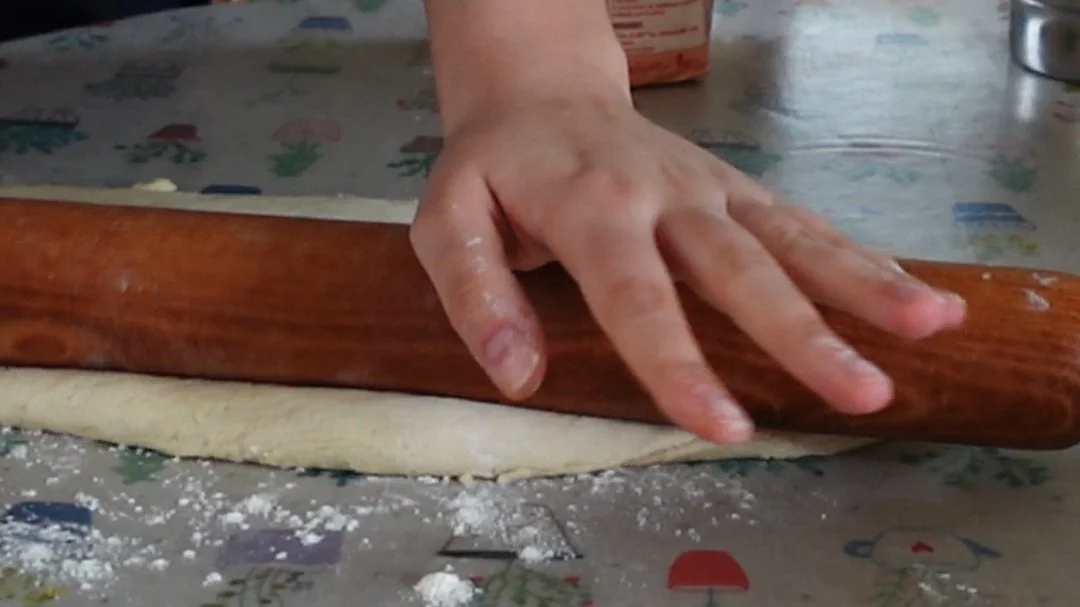
Knead it for about 10 mins (may be longer doing it by hand!), or until smooth. It should be soft, but not sticky! If sticky keep kneading or add more flour (only a little at a time as too much flour can lead to a denser texture).


2. Kneading + proofing process
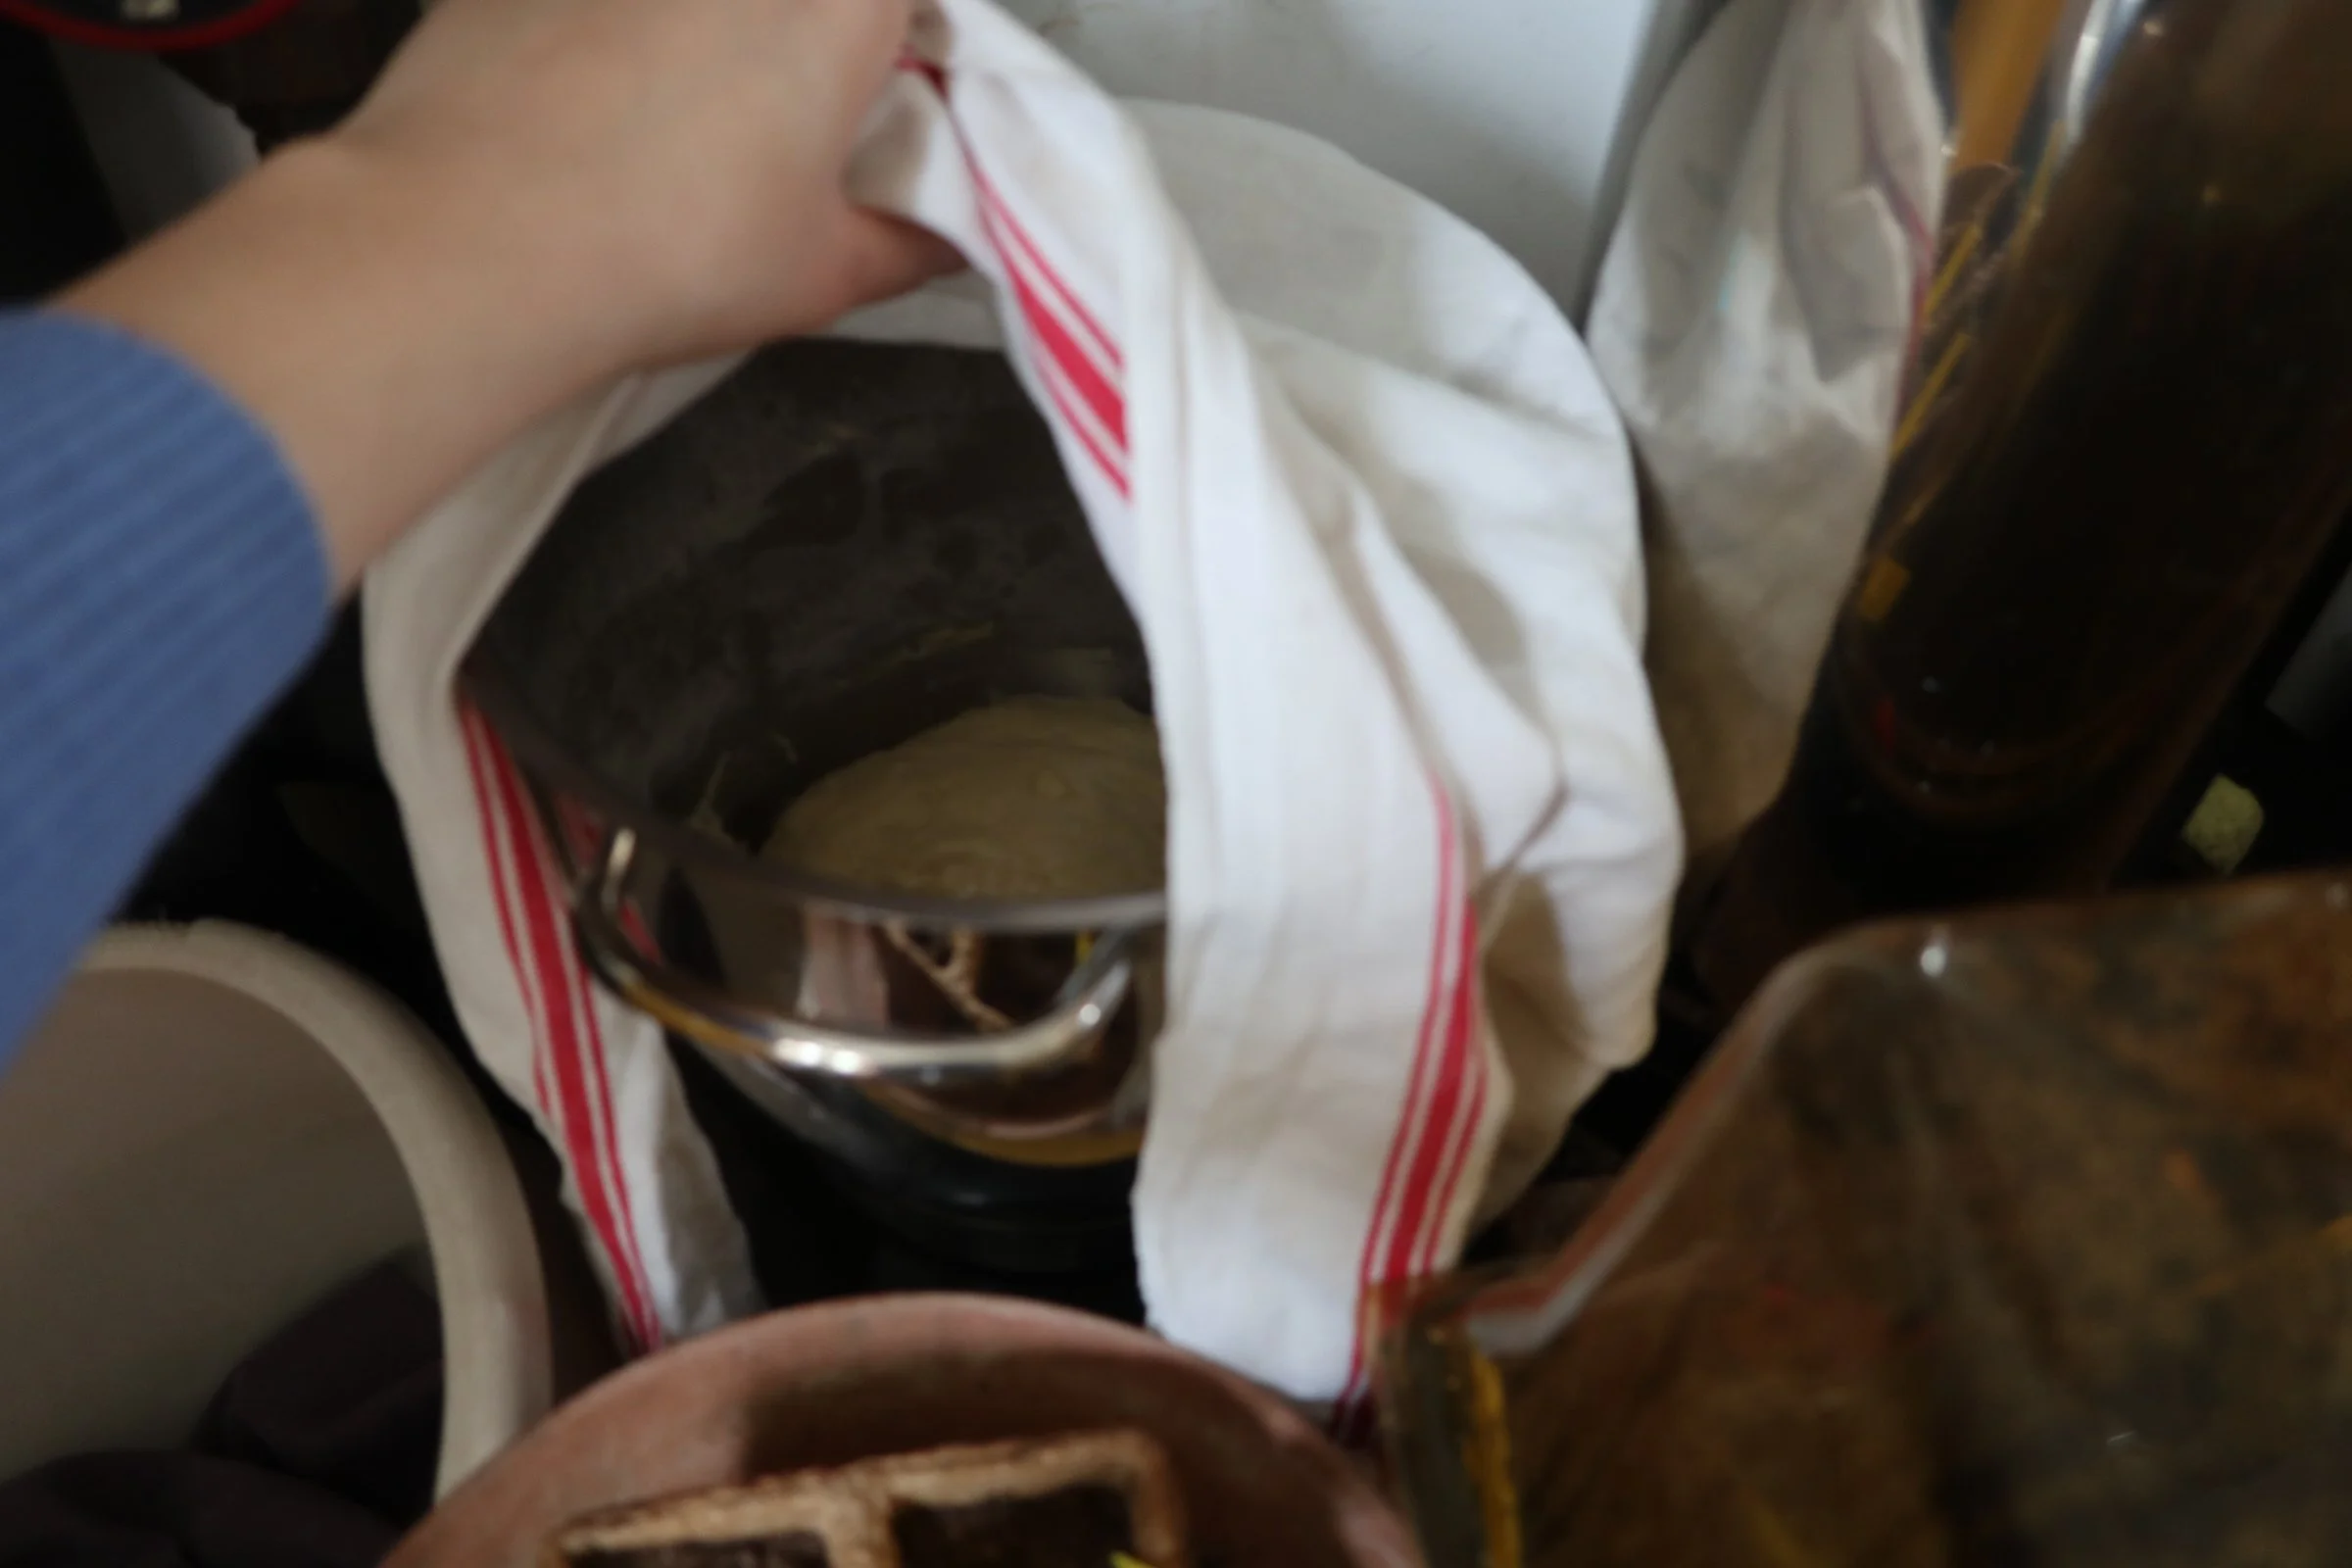
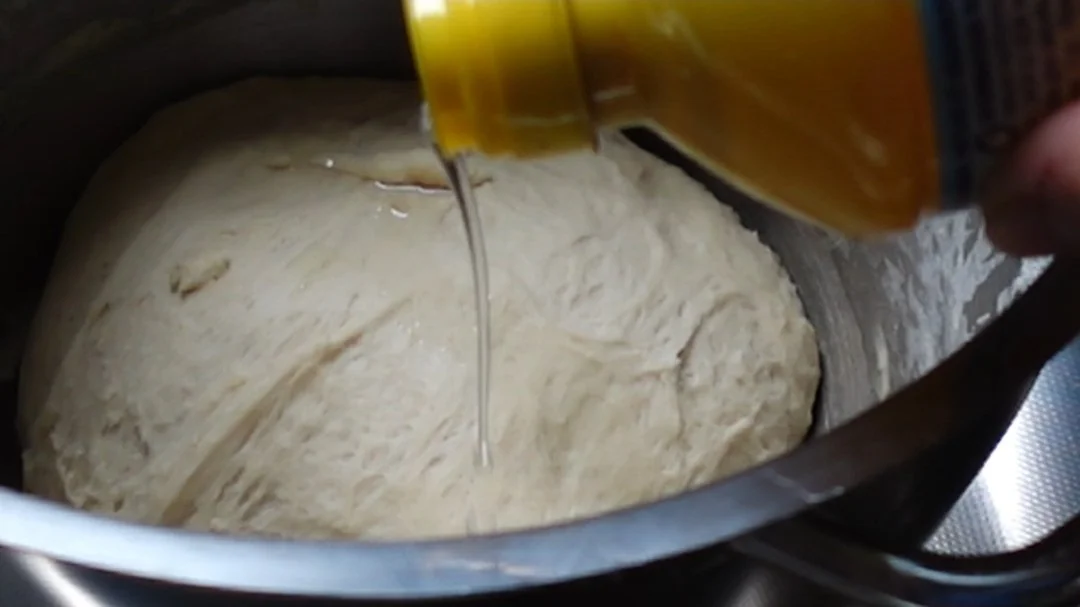
As said above, knead until smooth and soft, but not sticky. (like shown in the first picture here). Now, lightly oil a container and leave the dough to rise in a warm and dry environment. (no moisture, no draft, no heat should be in contact with the dough or it will impact the proofing process!!).
Leave it to rest for about an hour!
Now, gently take it out of its container and it’s time to roll it out.
T
E
X
T
U
R
E

3. Make the filling
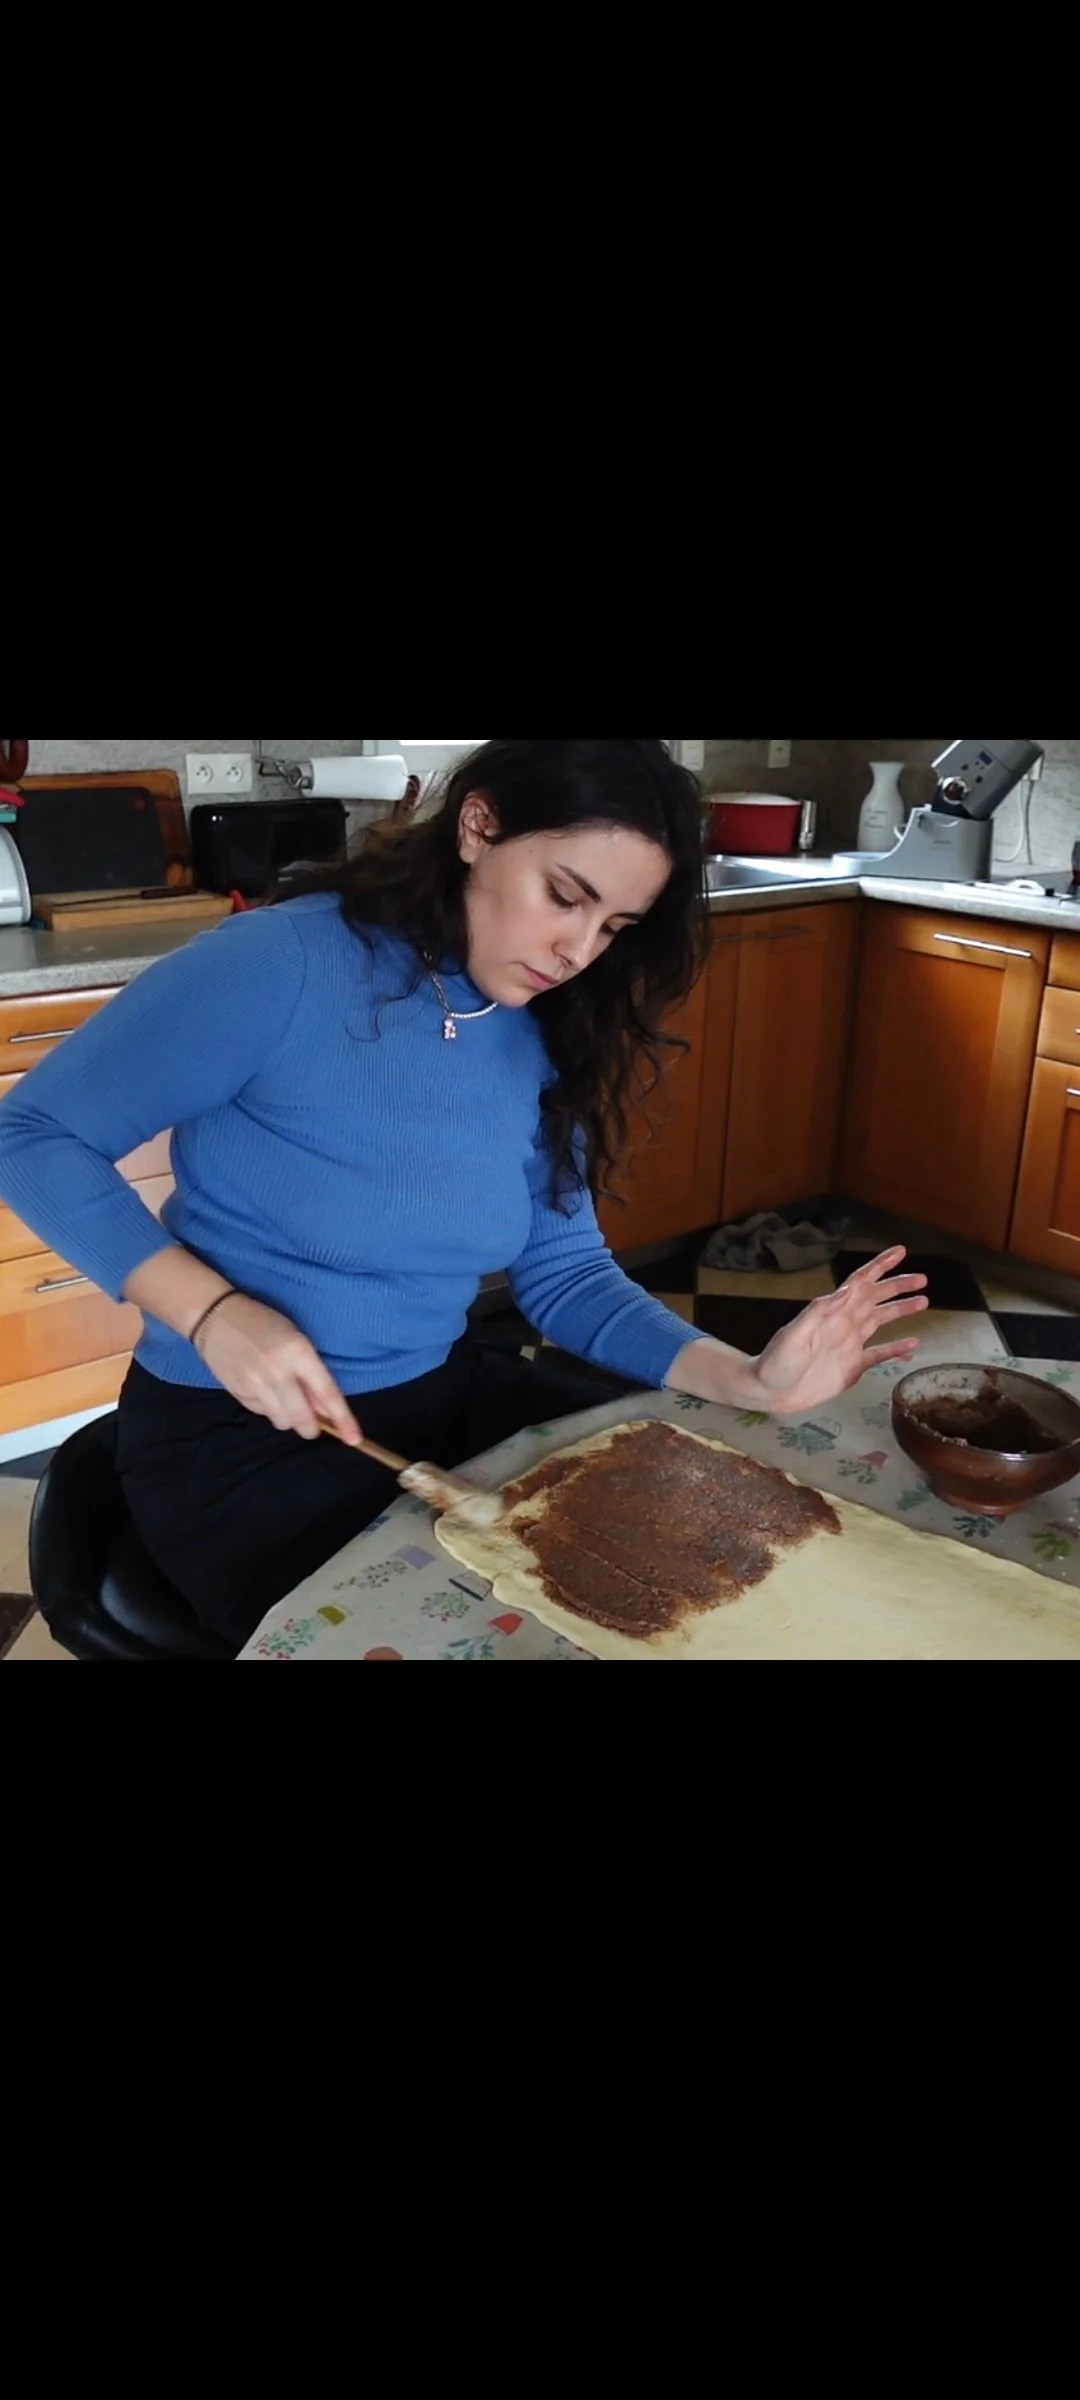
This filling couldn’t be any easier! Simply combine the butter (softened, you can microwave it for about 5 seconds BUT NOT MORE if needed, so it’s spreadable), sugar, and spices!
Tip: The temperature is key here! If it’s too soft, it’ll be impossible to shape your Kanelbullars, but if it’s too hard you’ll tear the dough as you’re spreading it!!


4. Shape the Kanelbullars
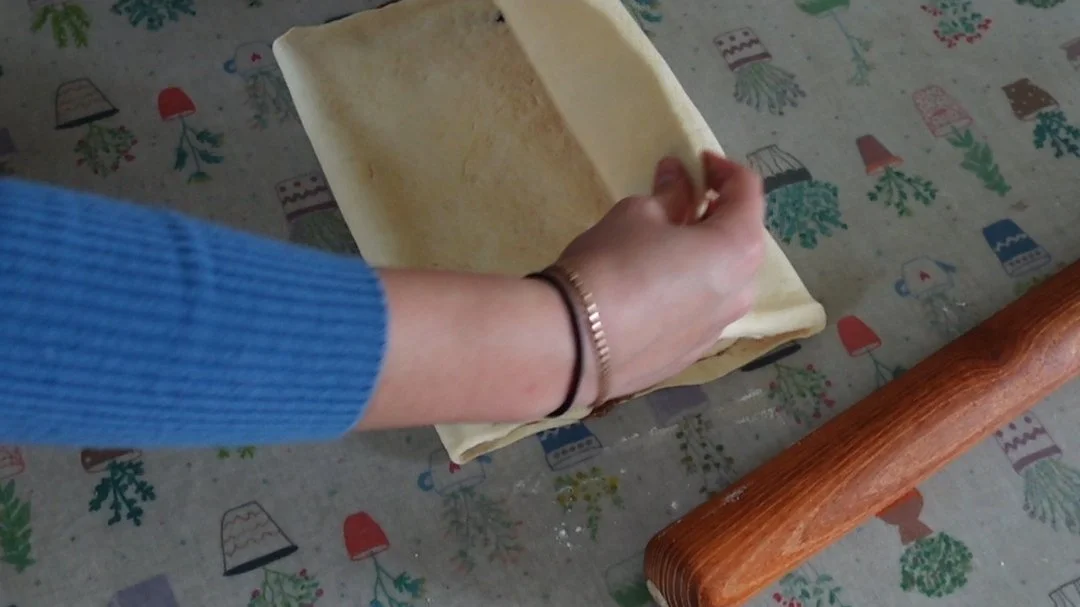
Roll out the dough into a rectangle first (about half a centimeter thick). Then, spread the filling on 2/3 of the dough. Fold them onto each other like shown in the pictures (the third with no filling should be last).
Once folded, roll it out ever so slightly just so it sticks better together.
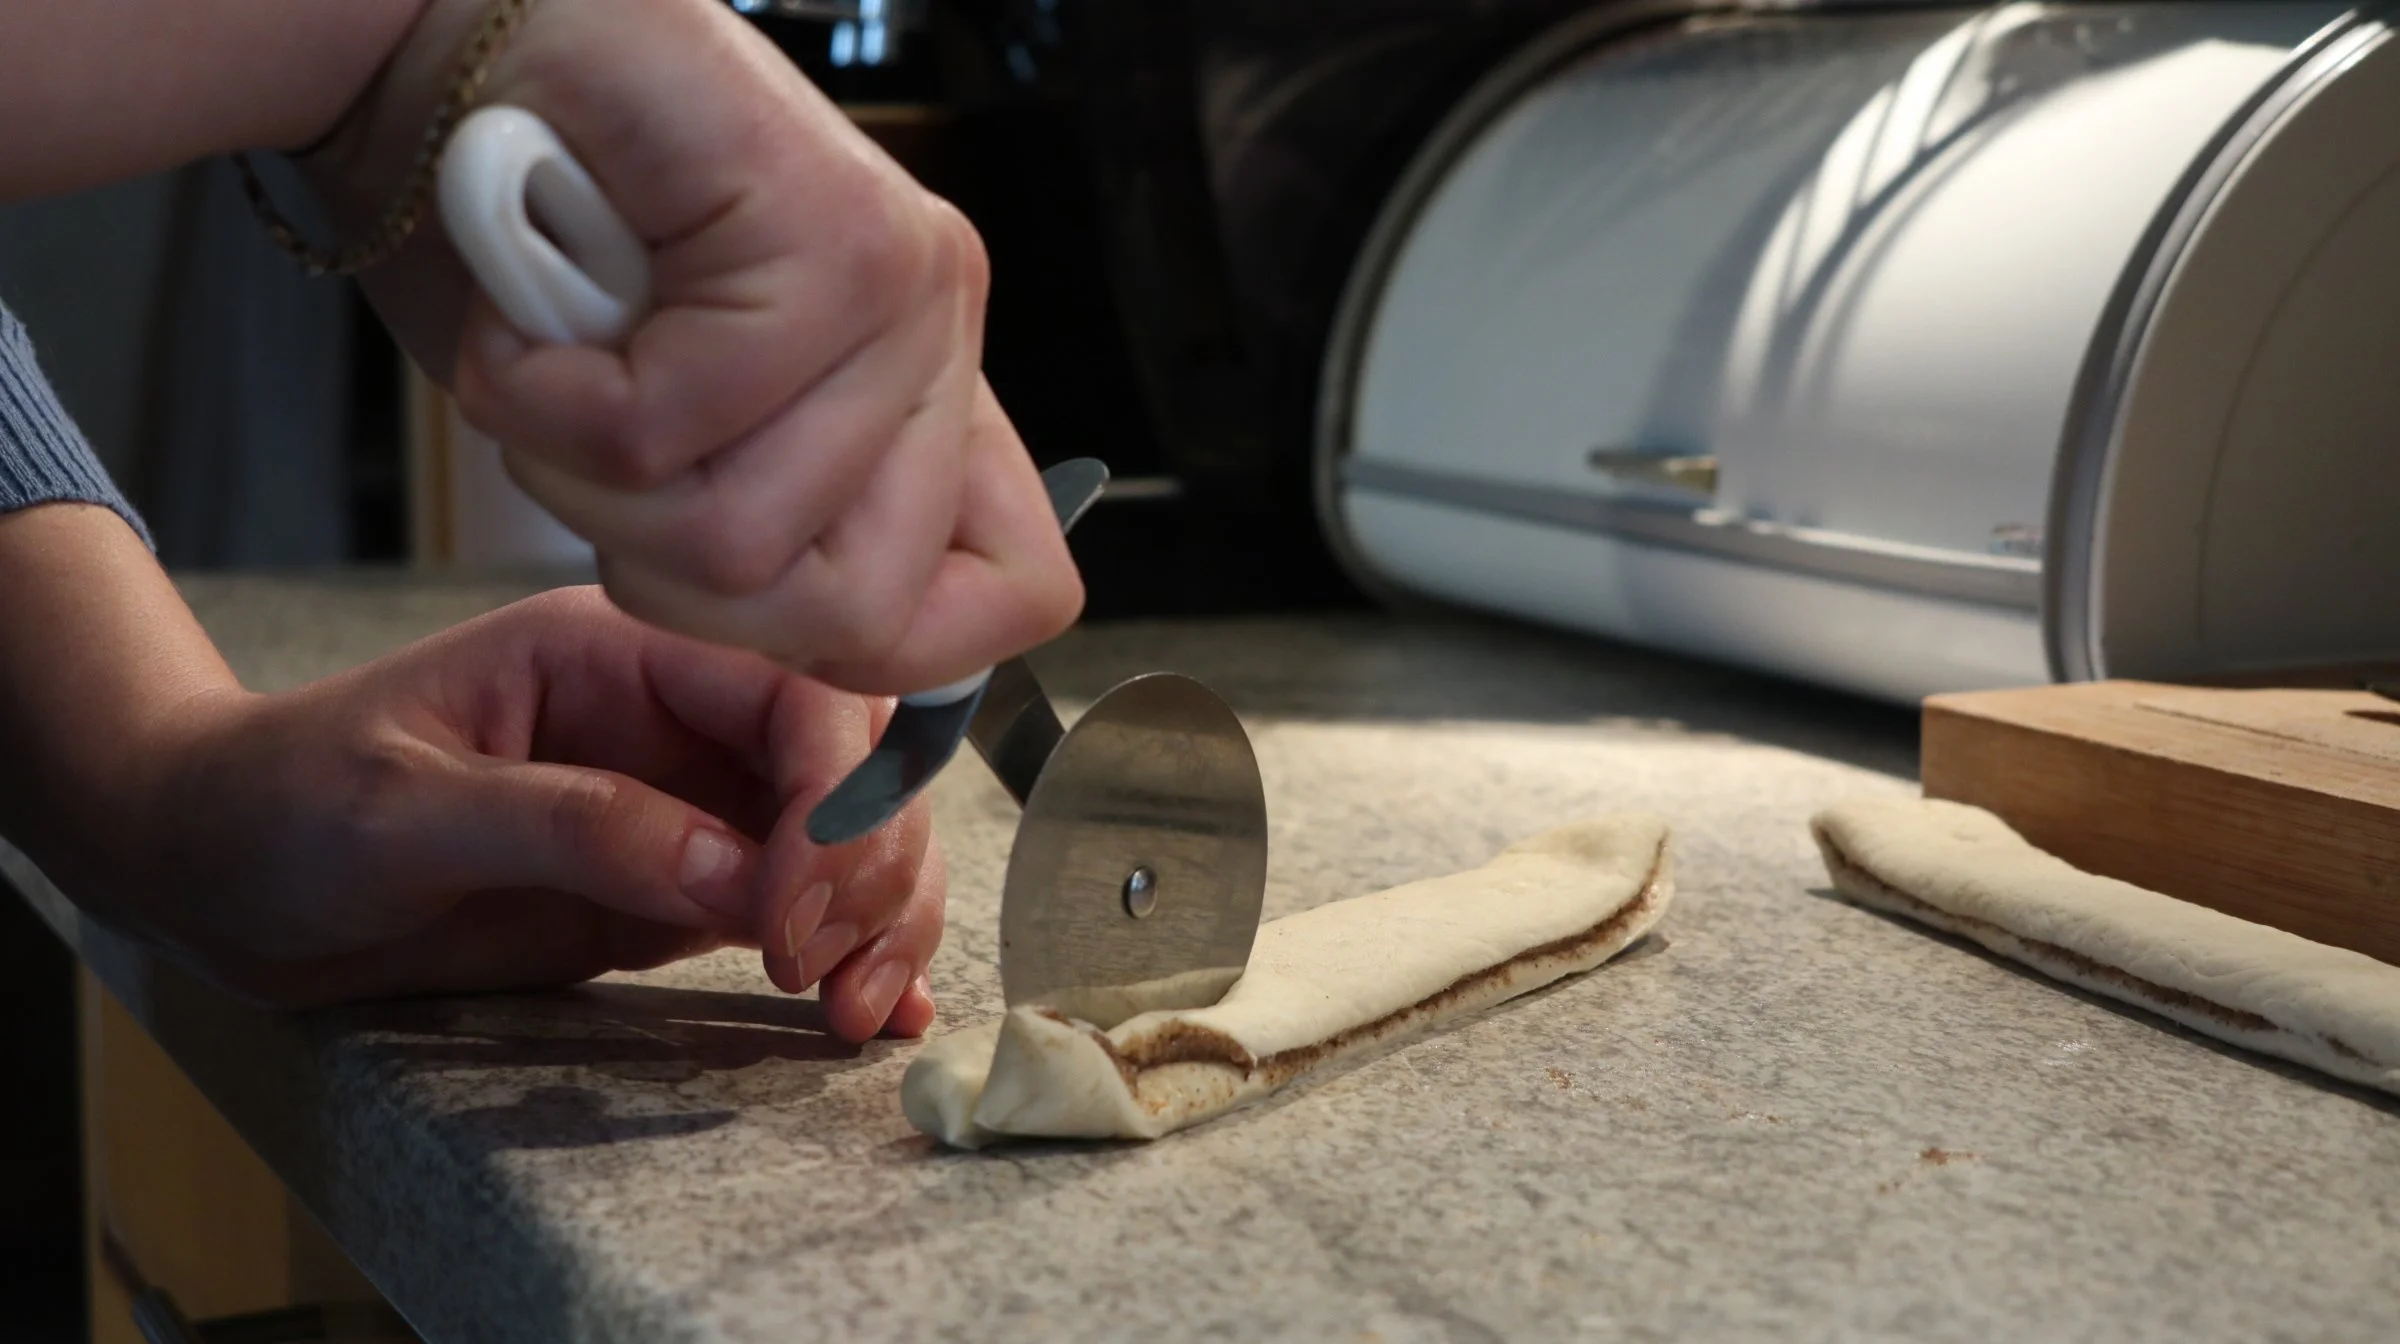
With a pizza slicer (or a knife, or whatever you find), cut bands into the dough (they should be about 3 centimeters thick and about 20 centimeters long). Slice each band in half but DON’T SLICE ALL THE WAY! Leave about a centimeter or two unsliced on one end.
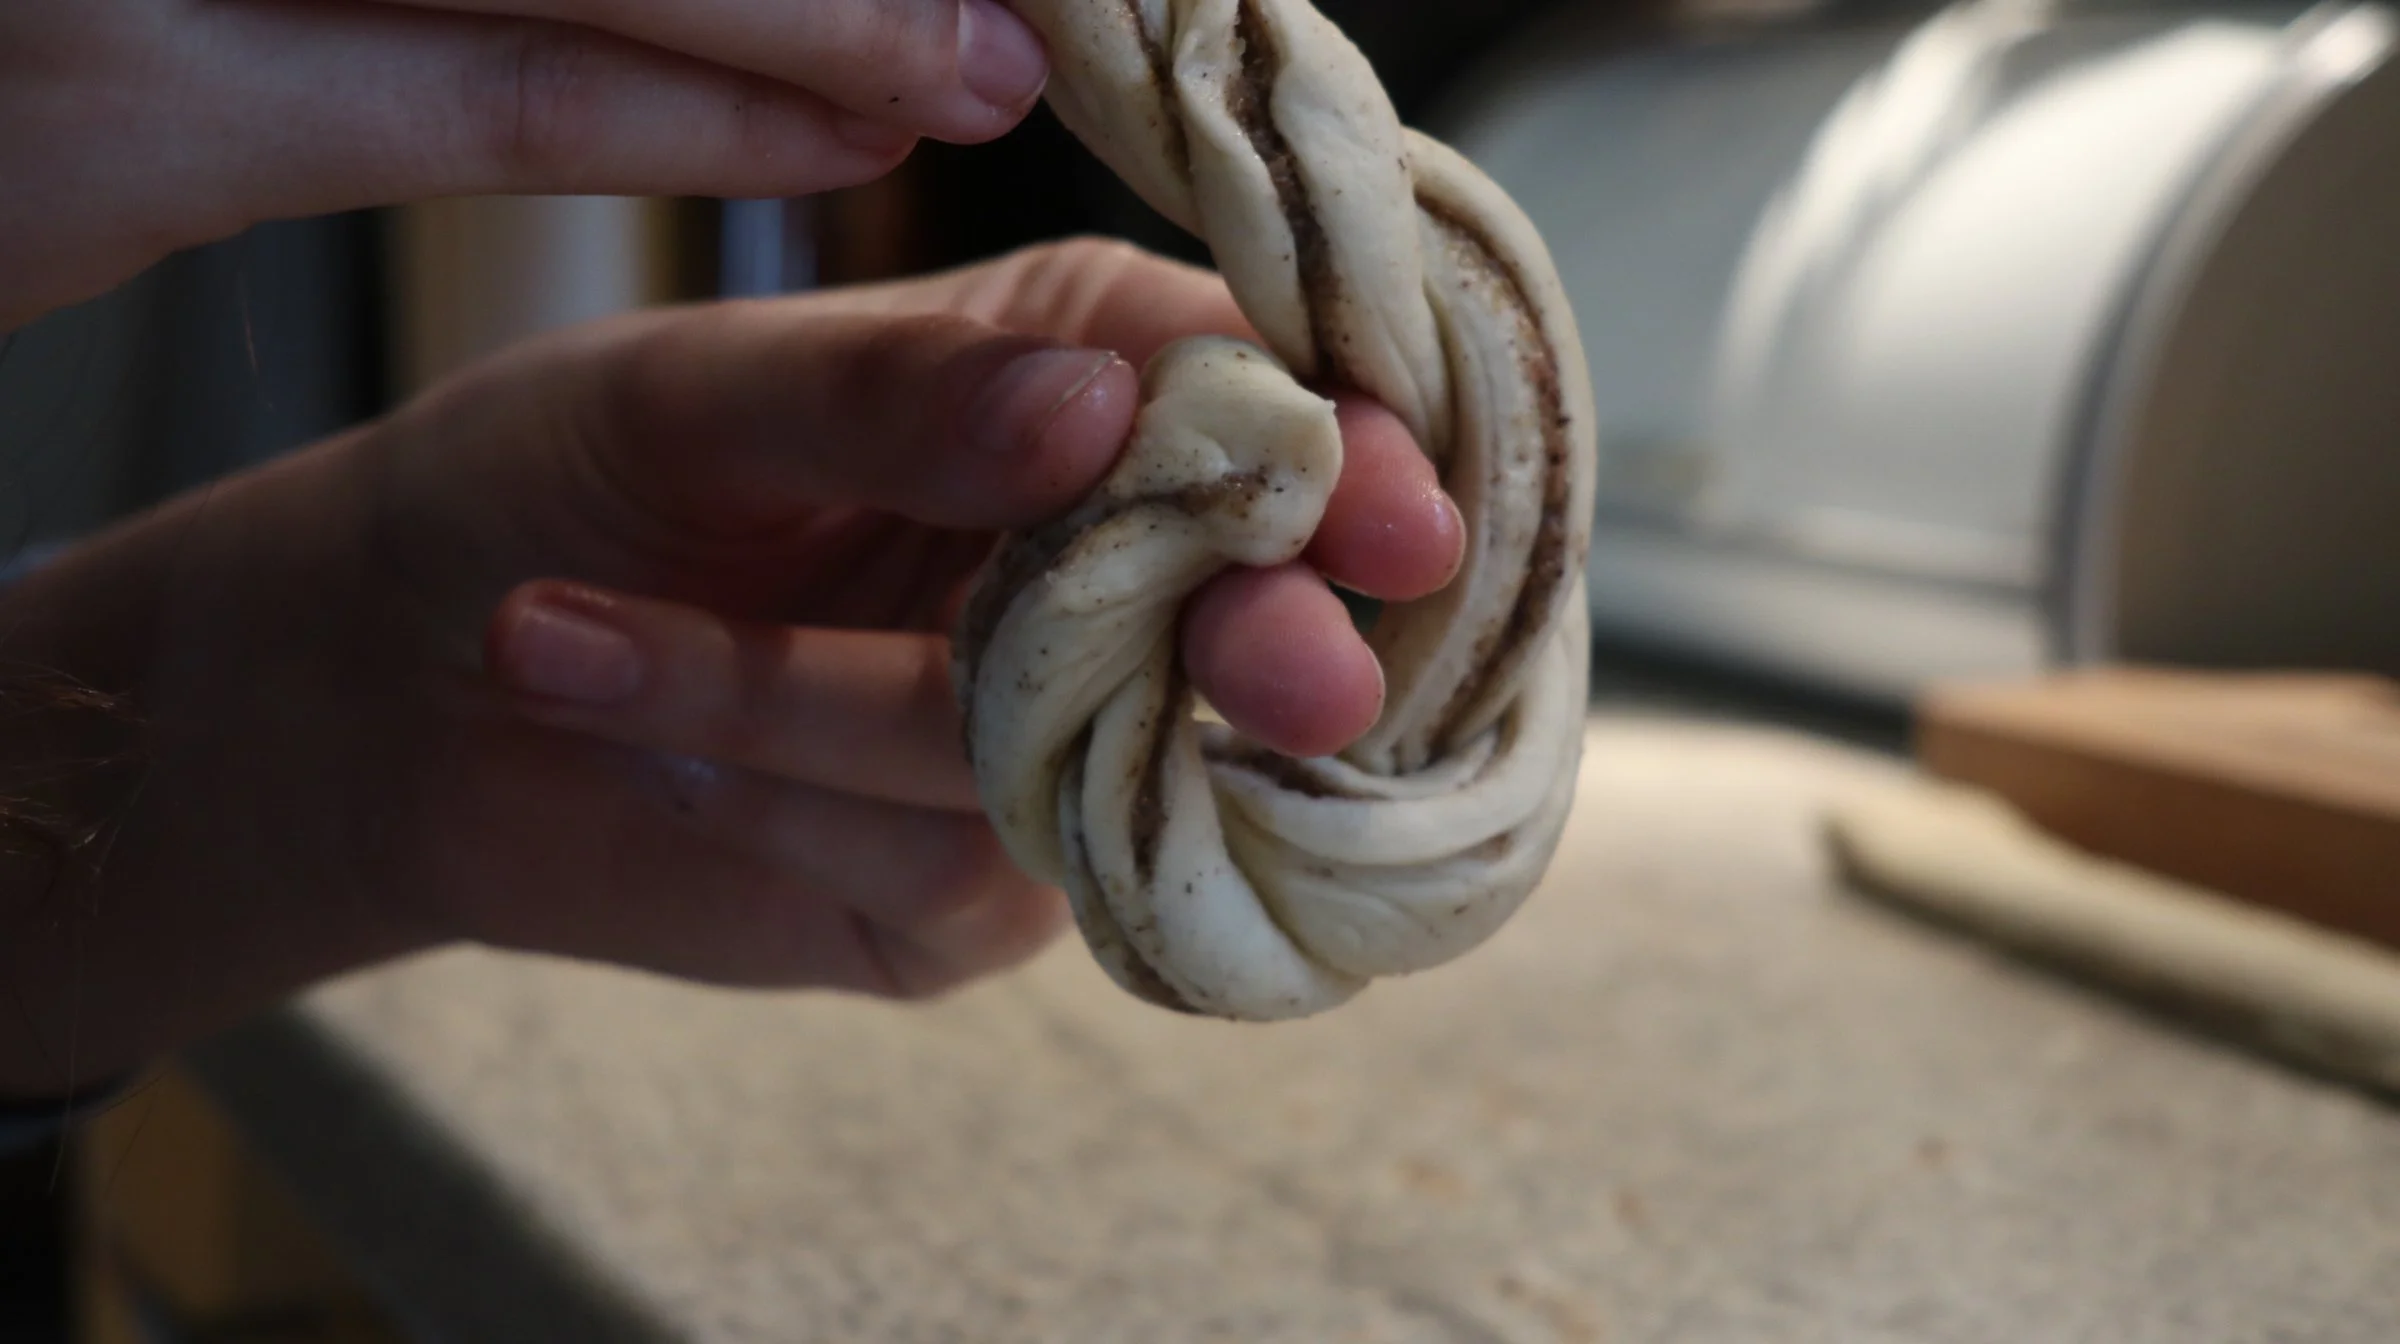
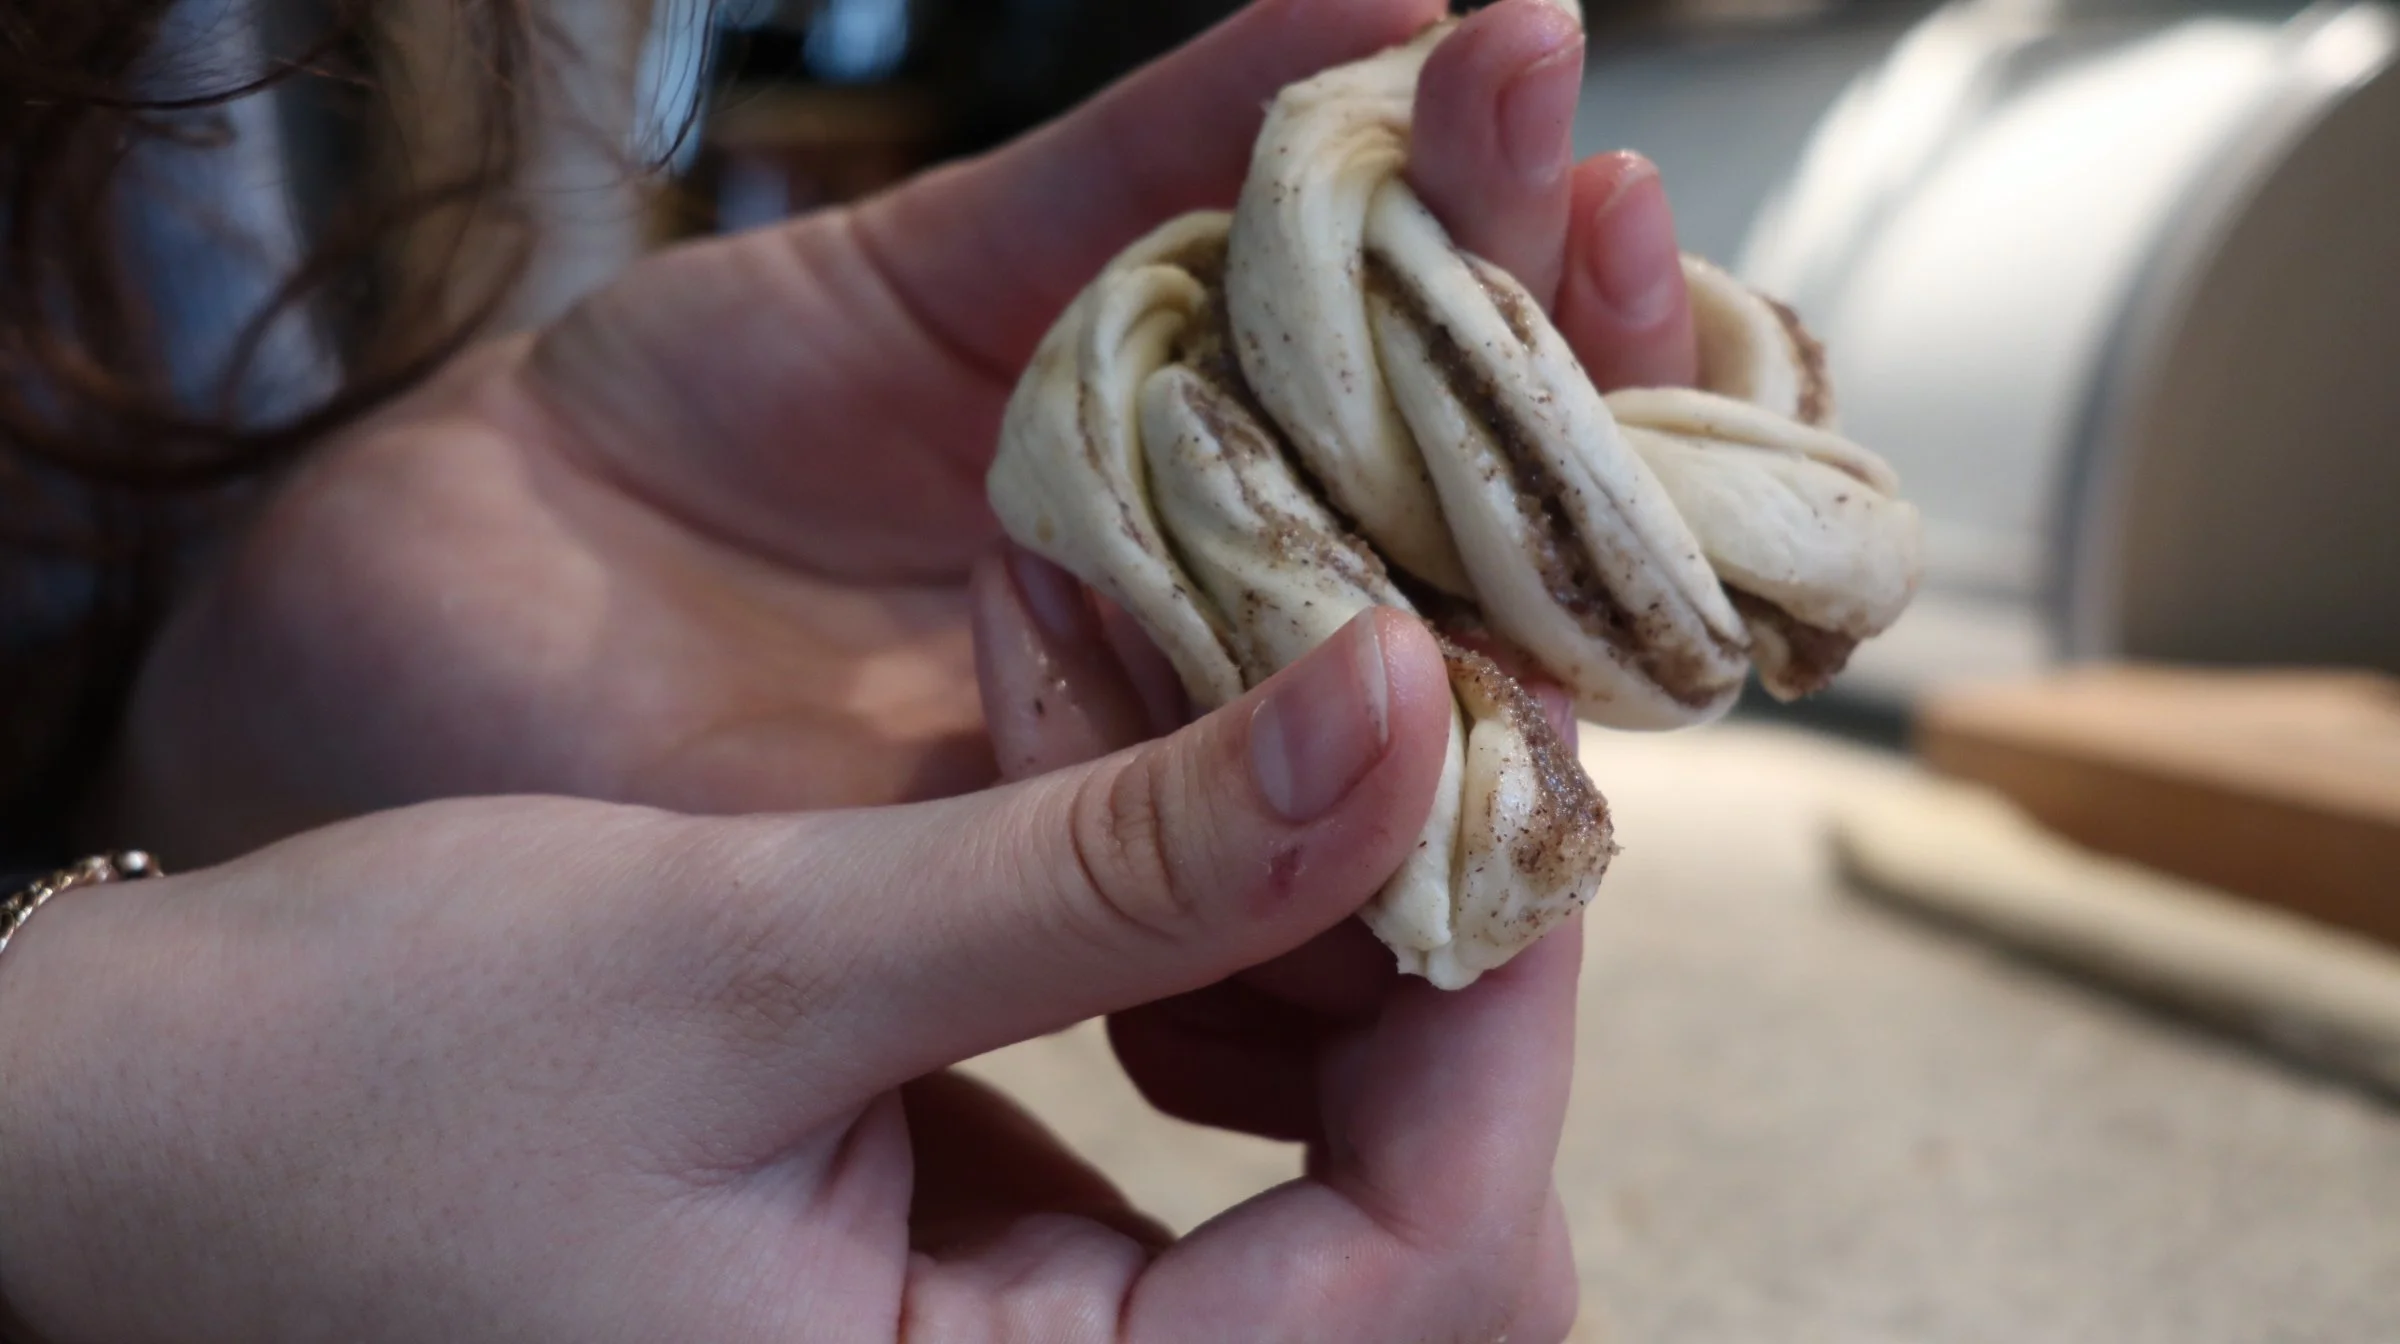
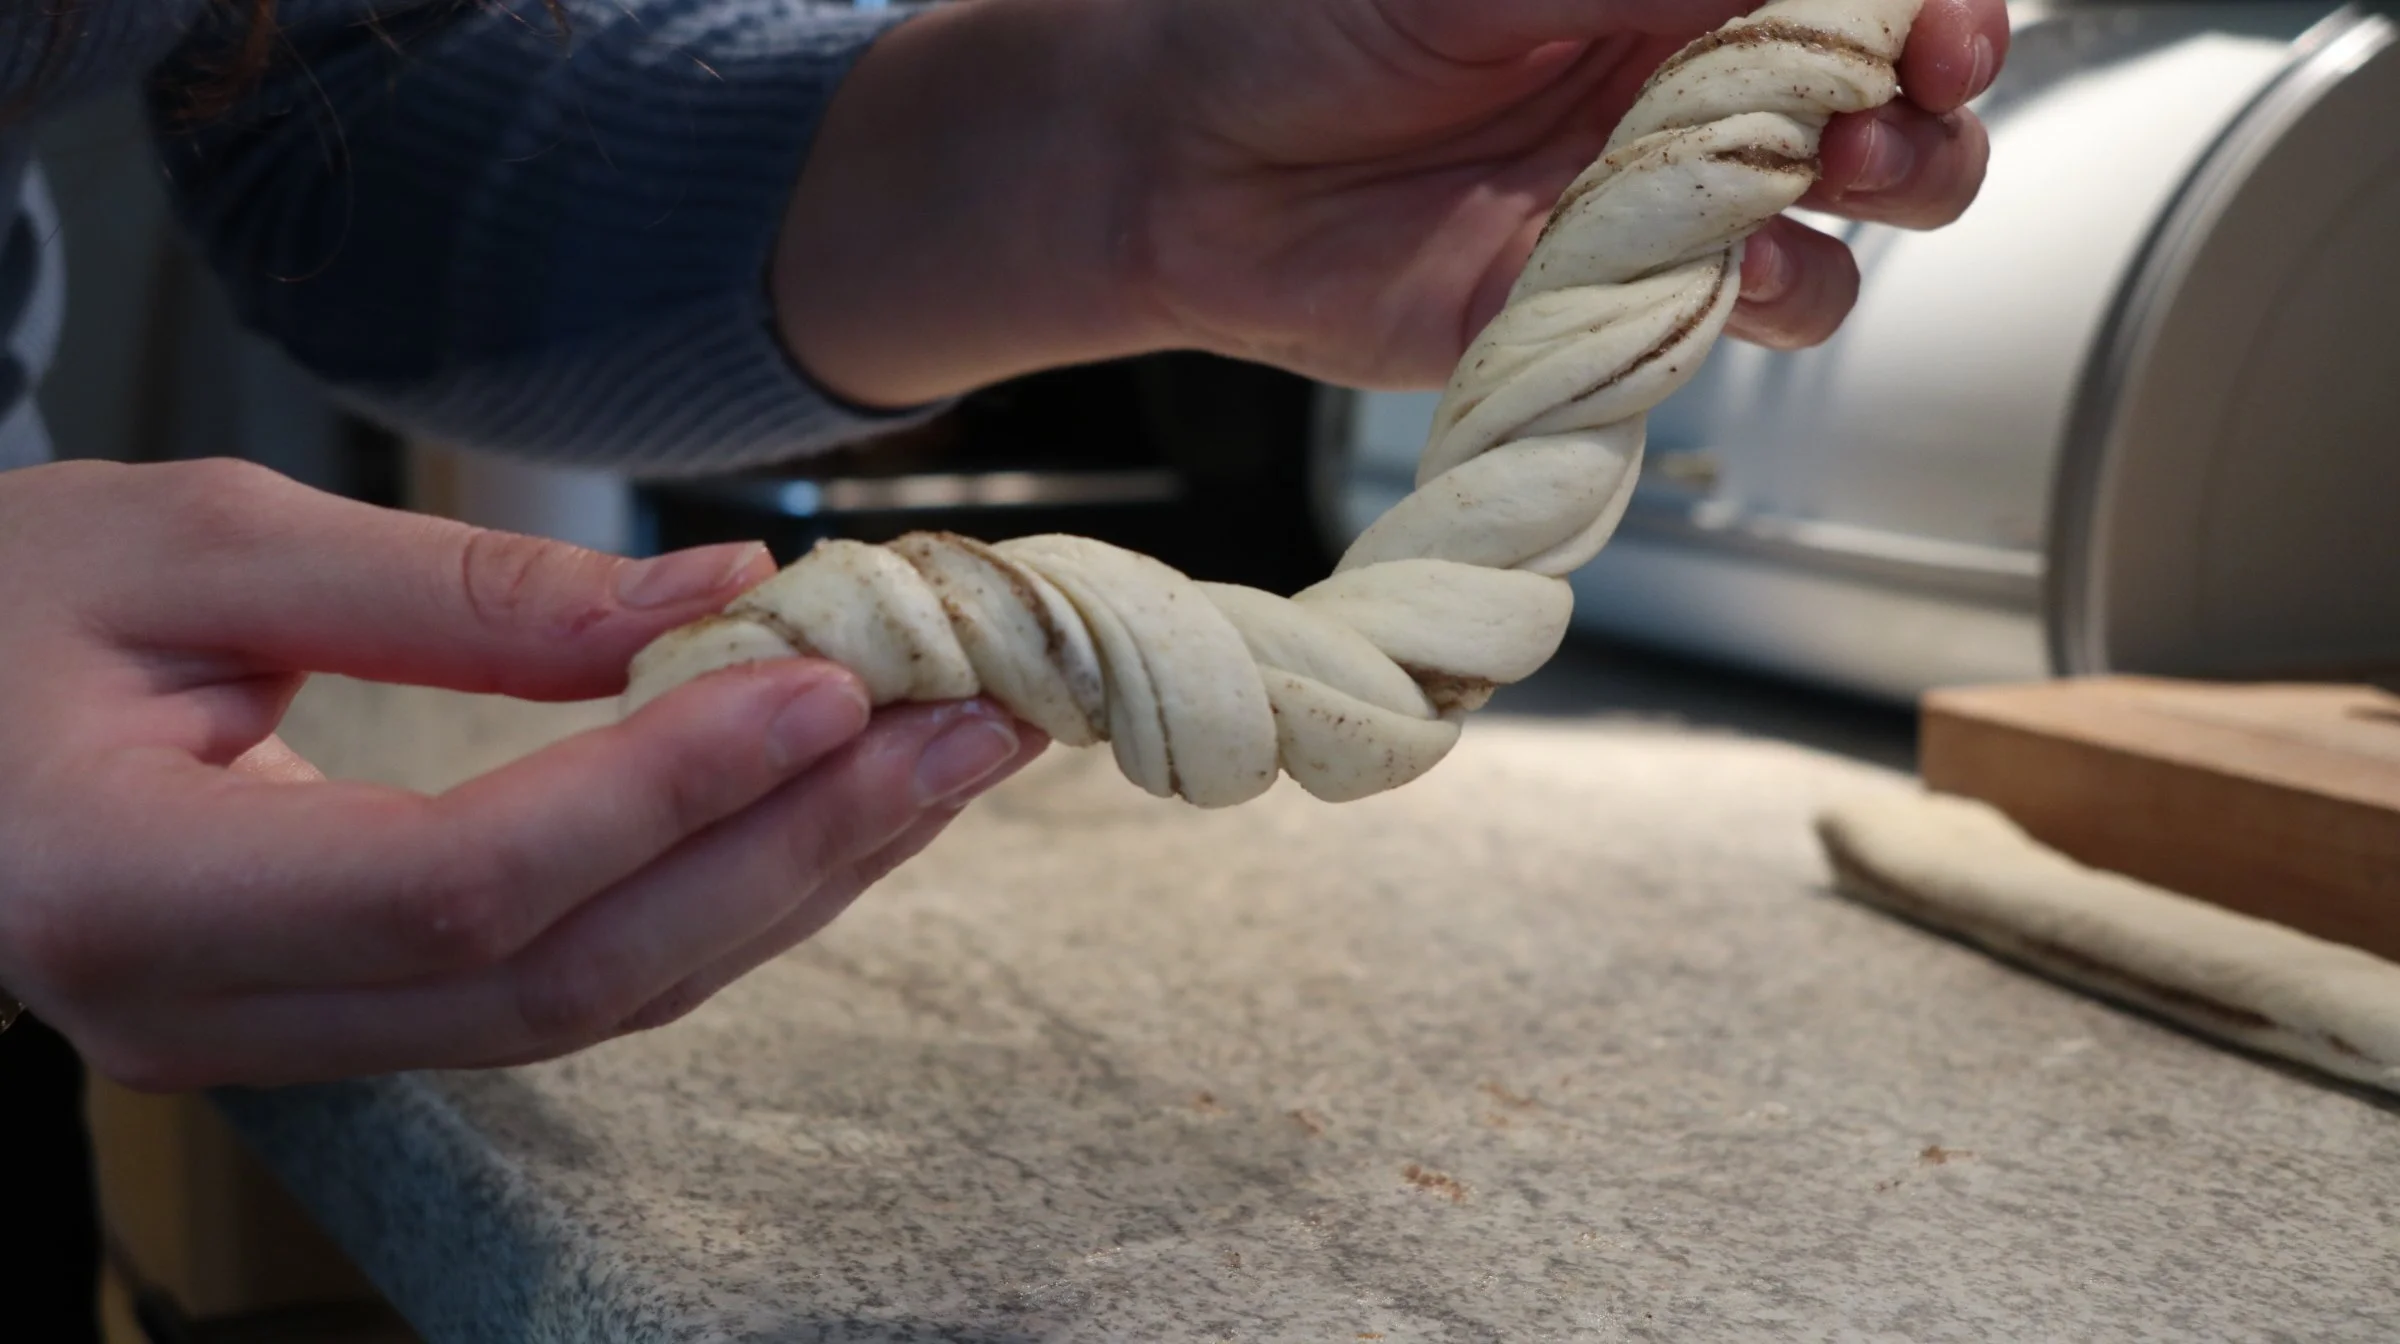
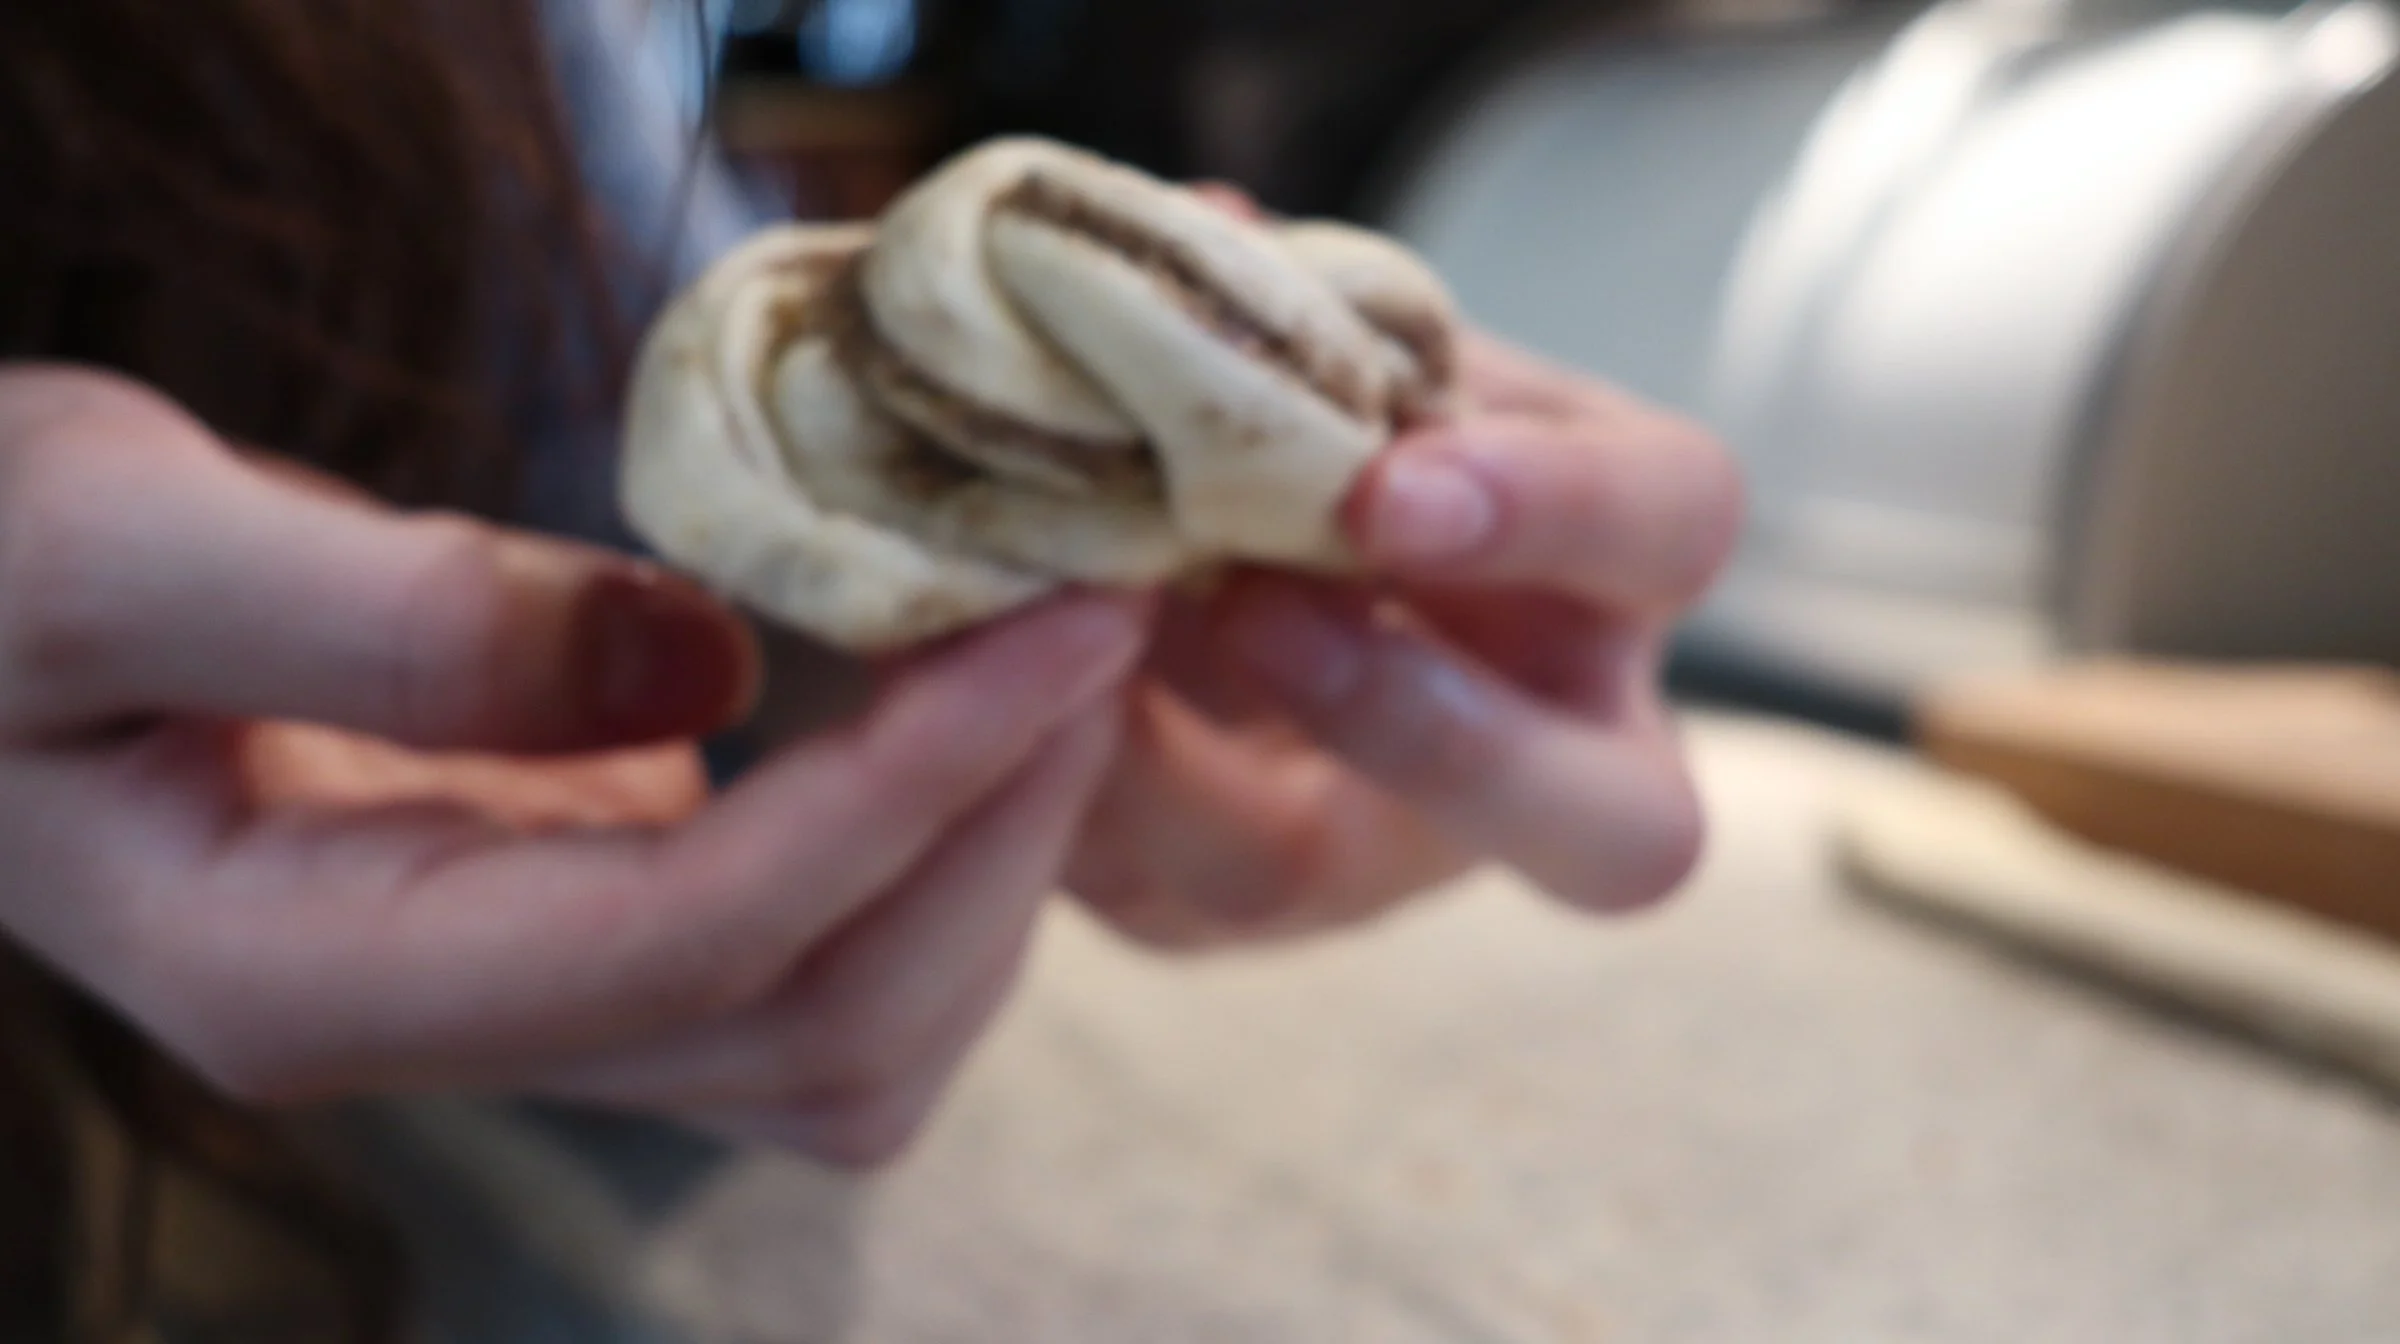
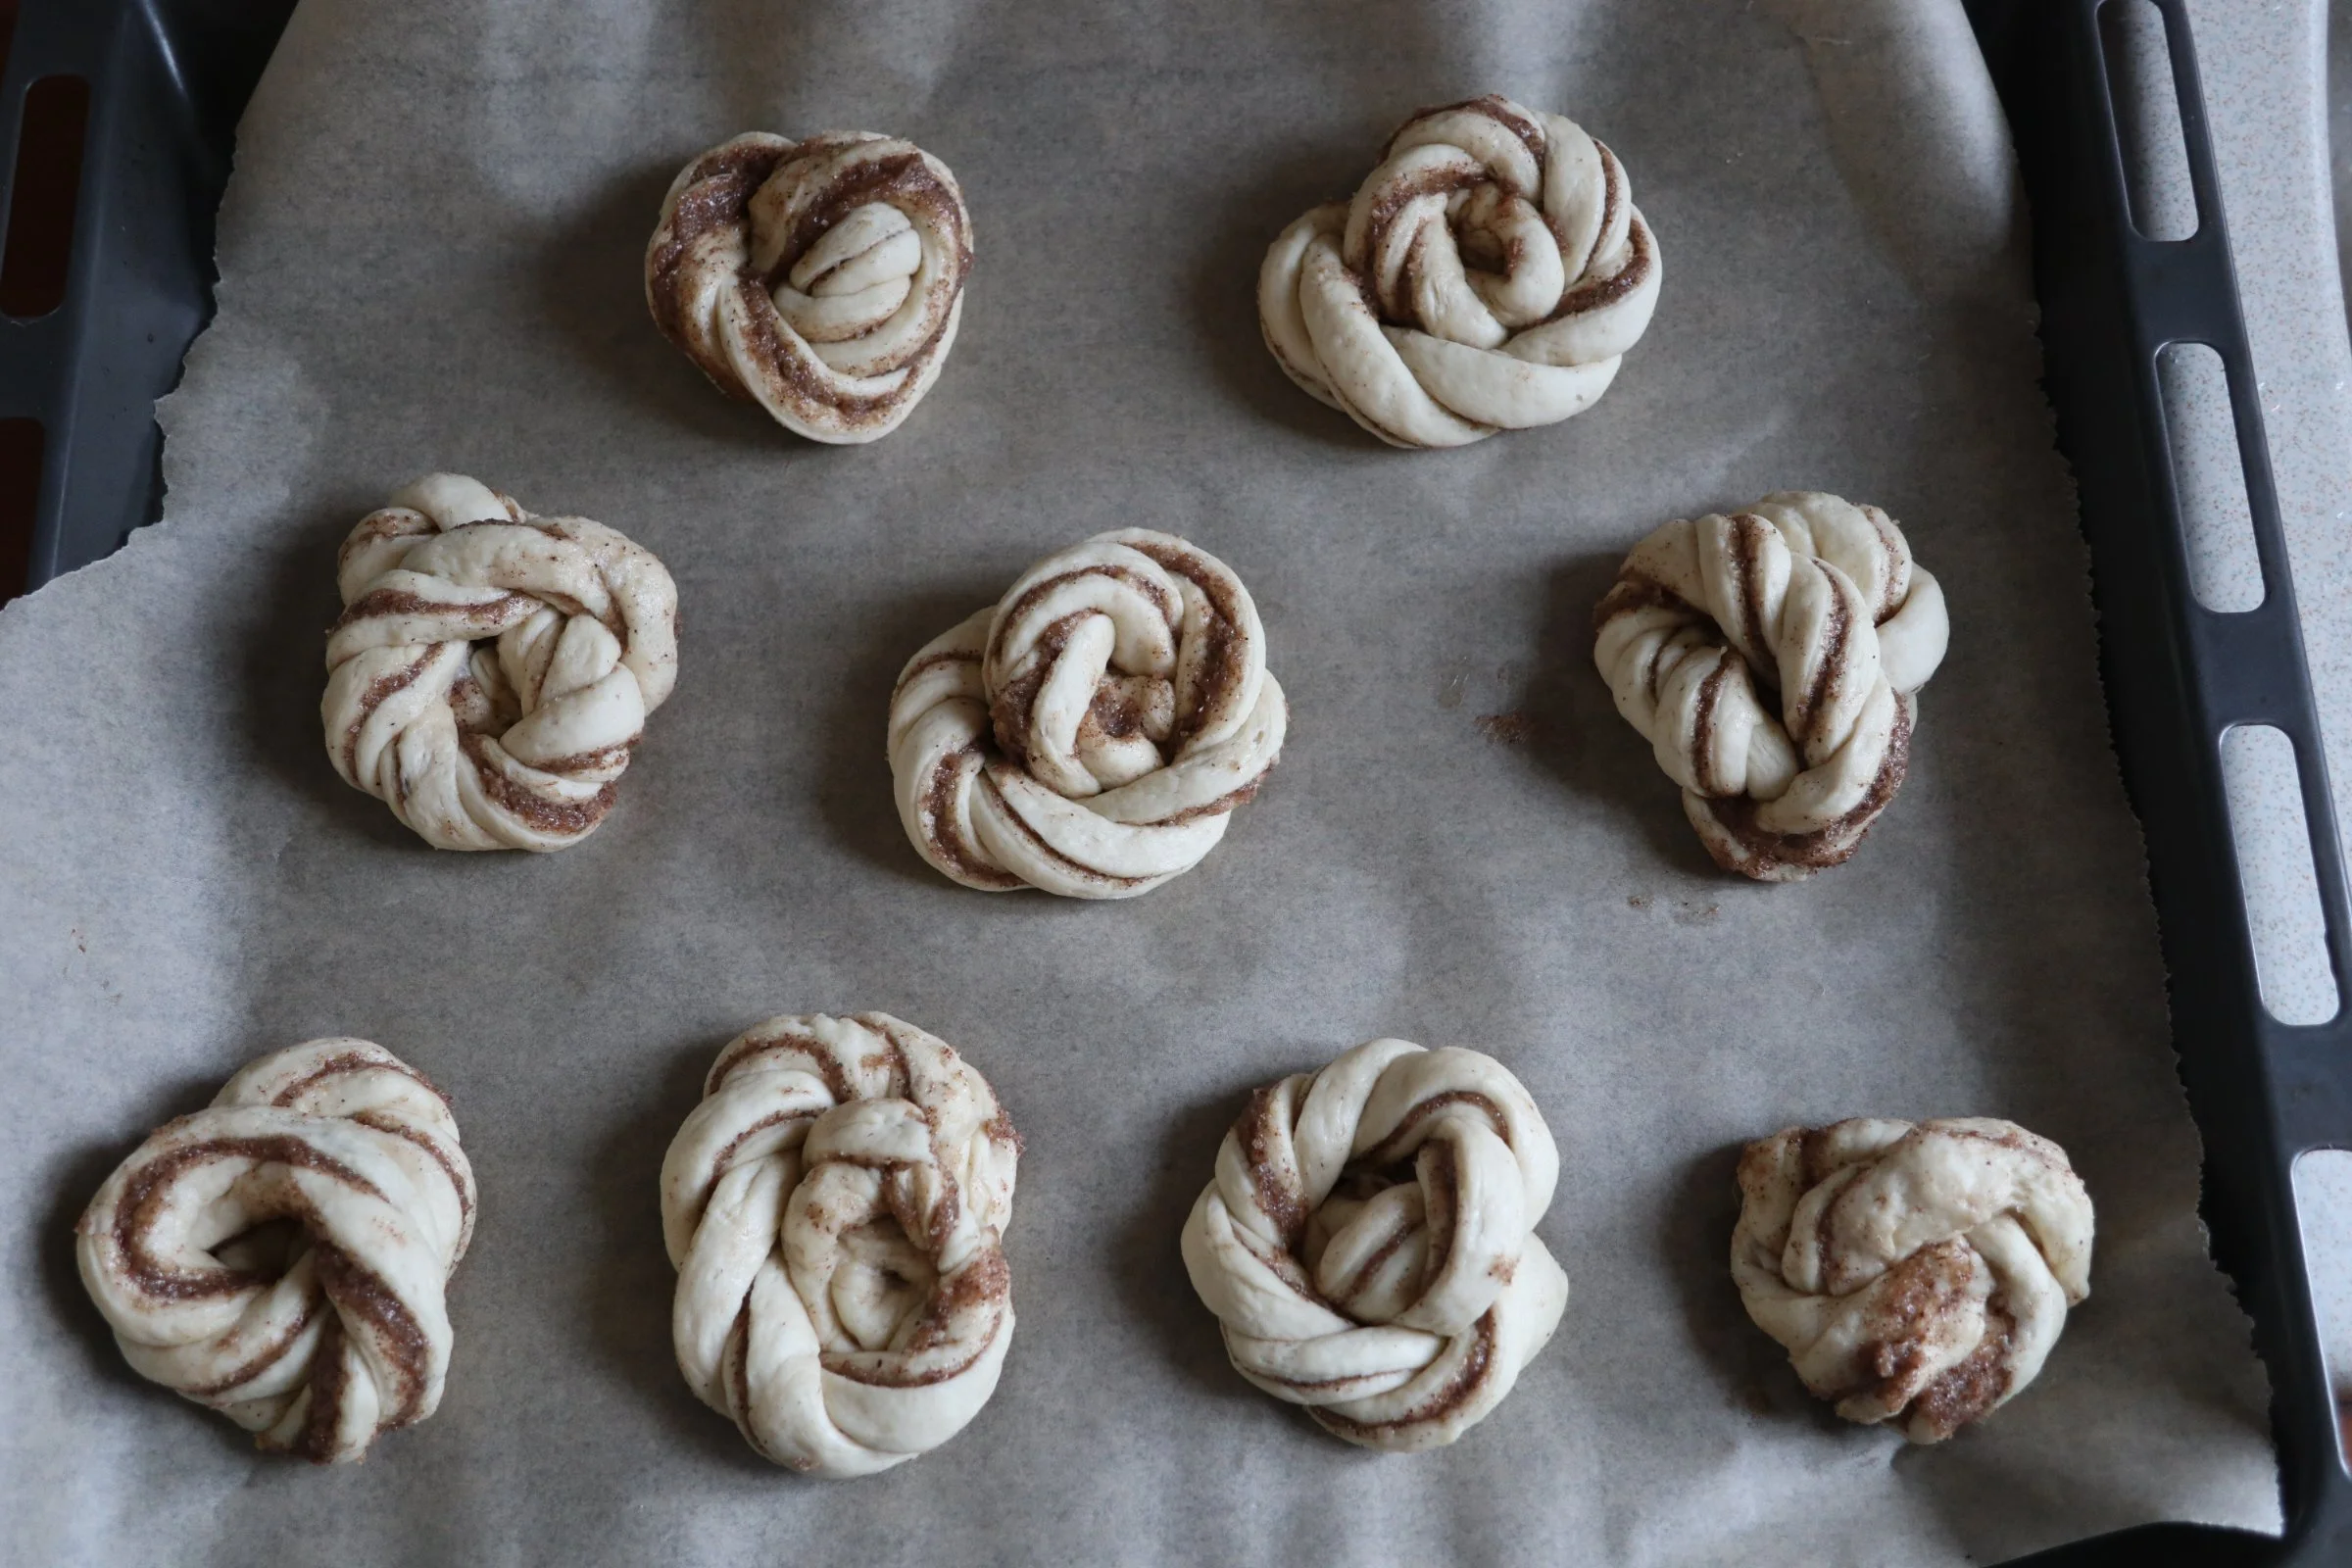
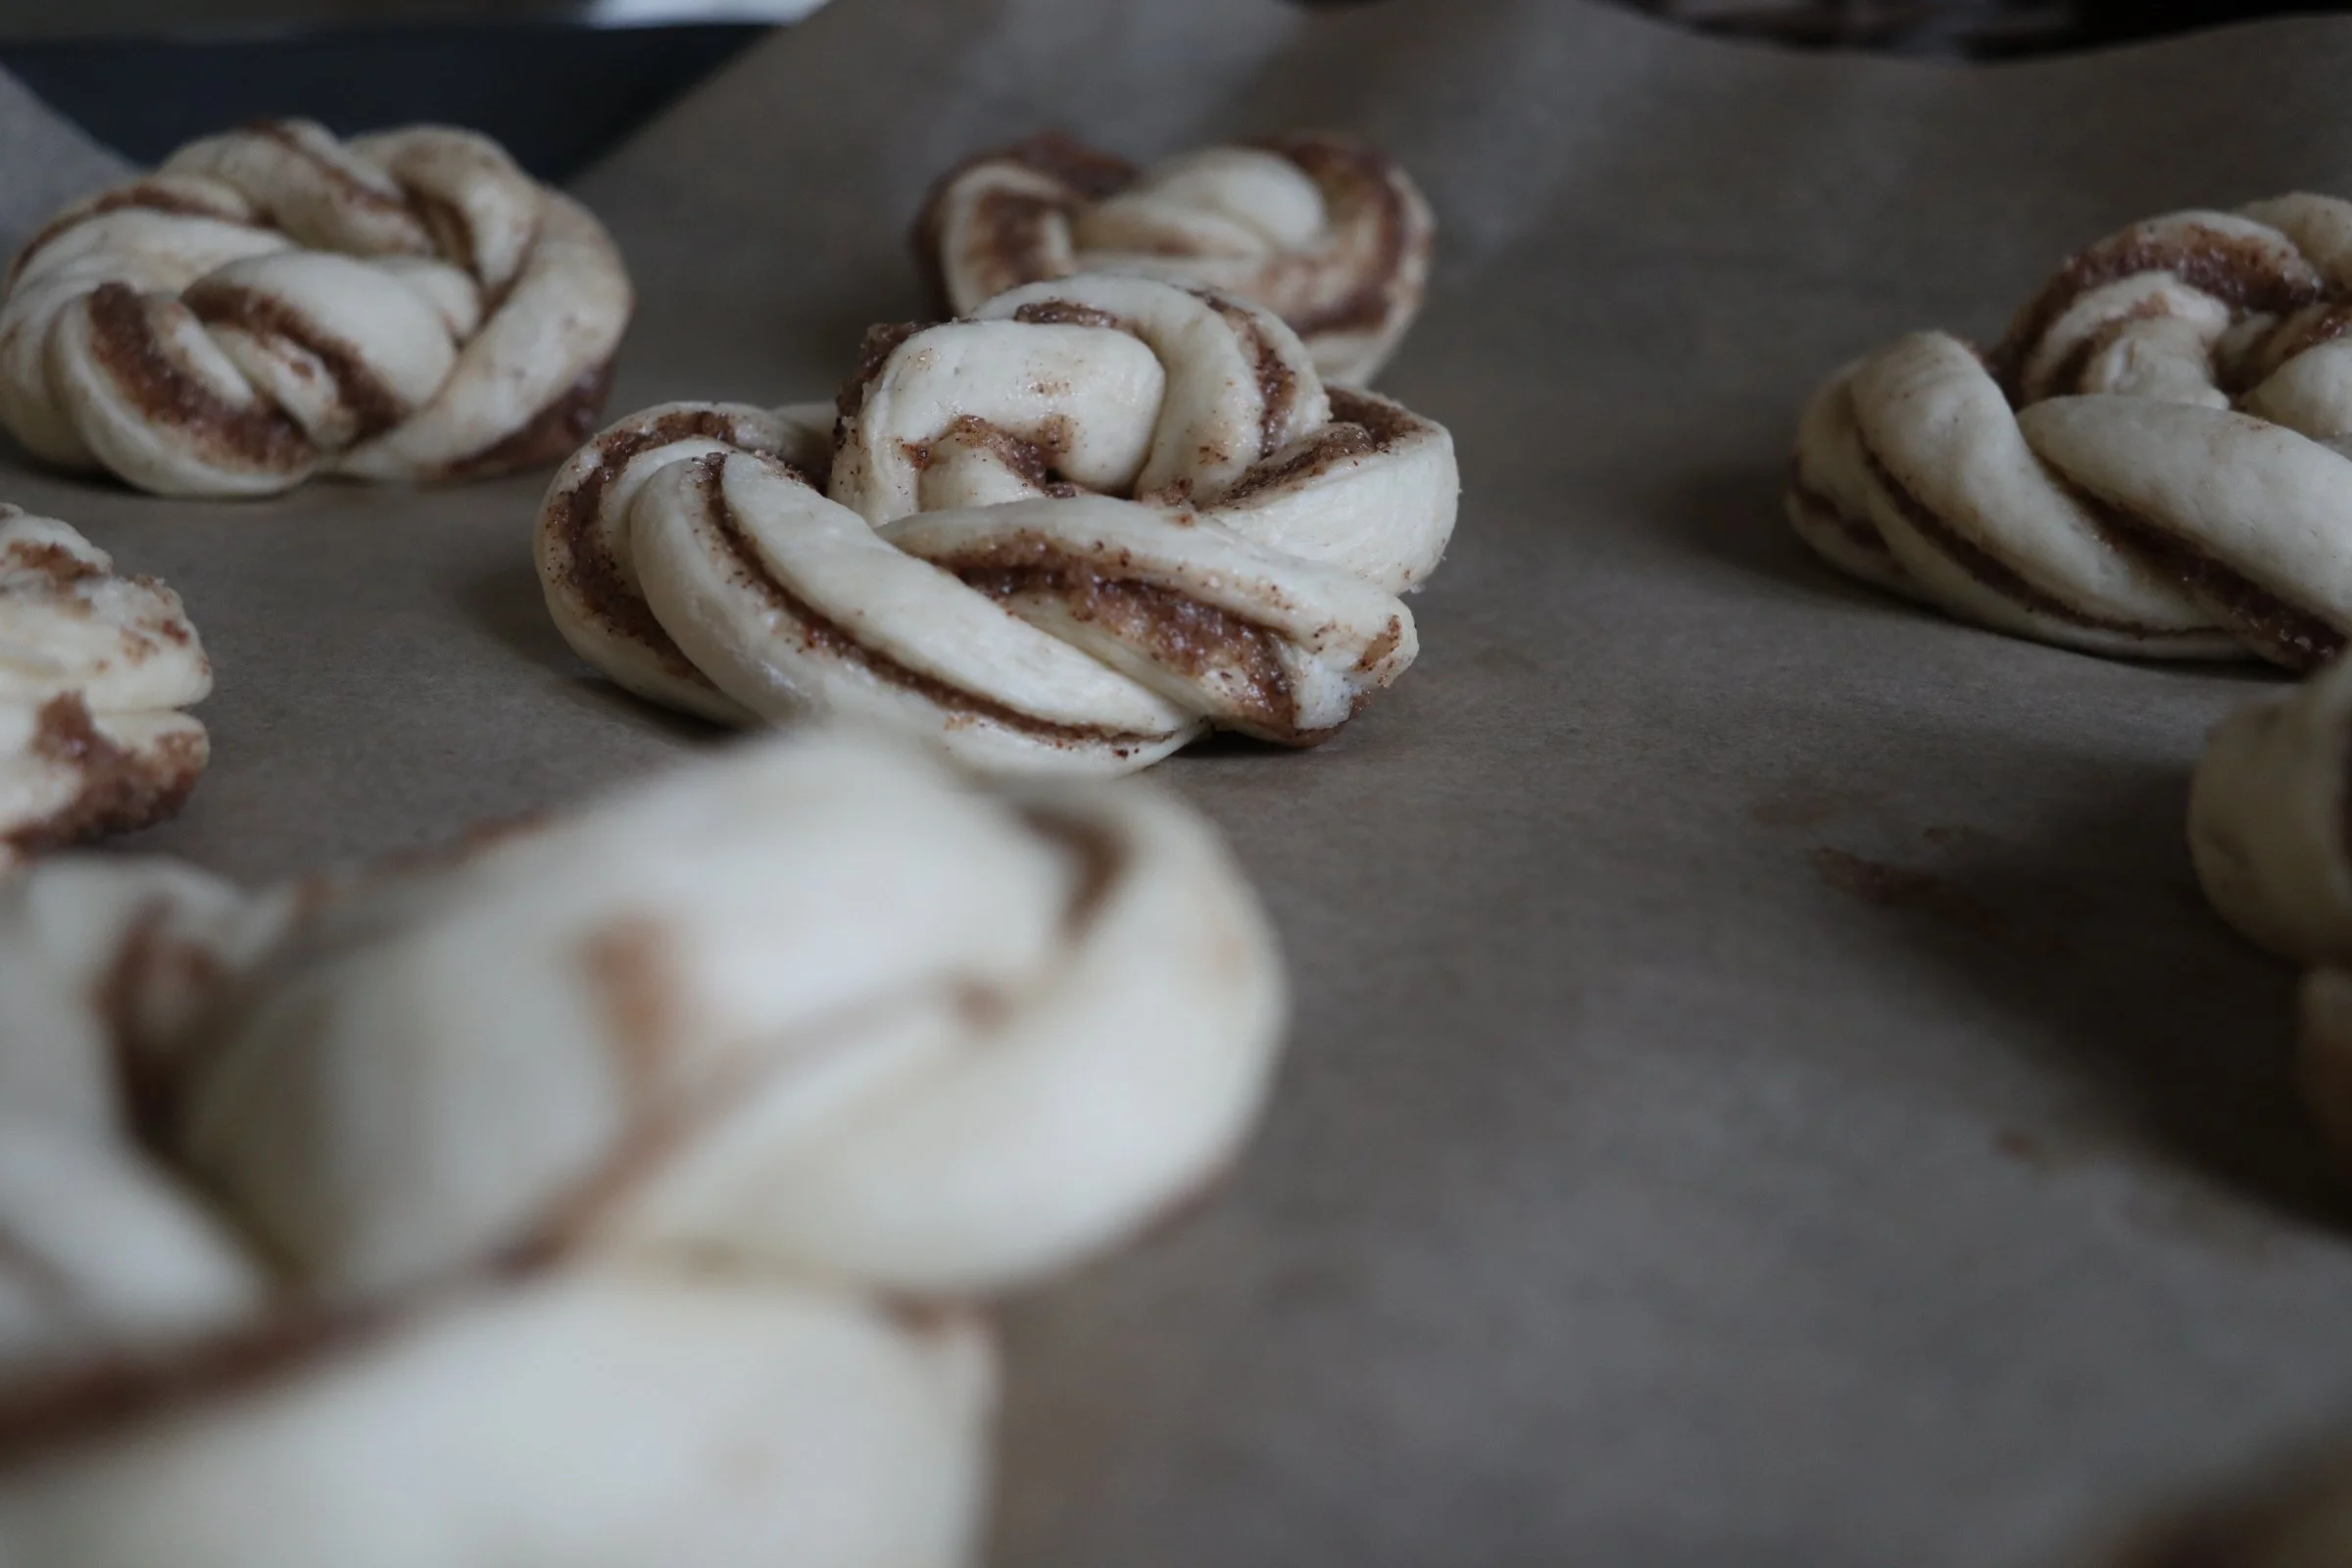
Now, twist each half together. Then, tie a knot: roll the twist into a snail and stick one end into the middle through the bottom. Otherwise, you can loosely loop it around 2 fingers before wrapping it around the middle (like a bow) and close it sticking one end into the bottom. (Or look at the step-by-step pictures !! It’ll be easier to understand). :)


5. Final proofing + baking time!
You’re almost there! Now proof the knots one last time for about 30 minutes (up to an hour) or until doubled in size! (follow the same proofing rules I used earlier)
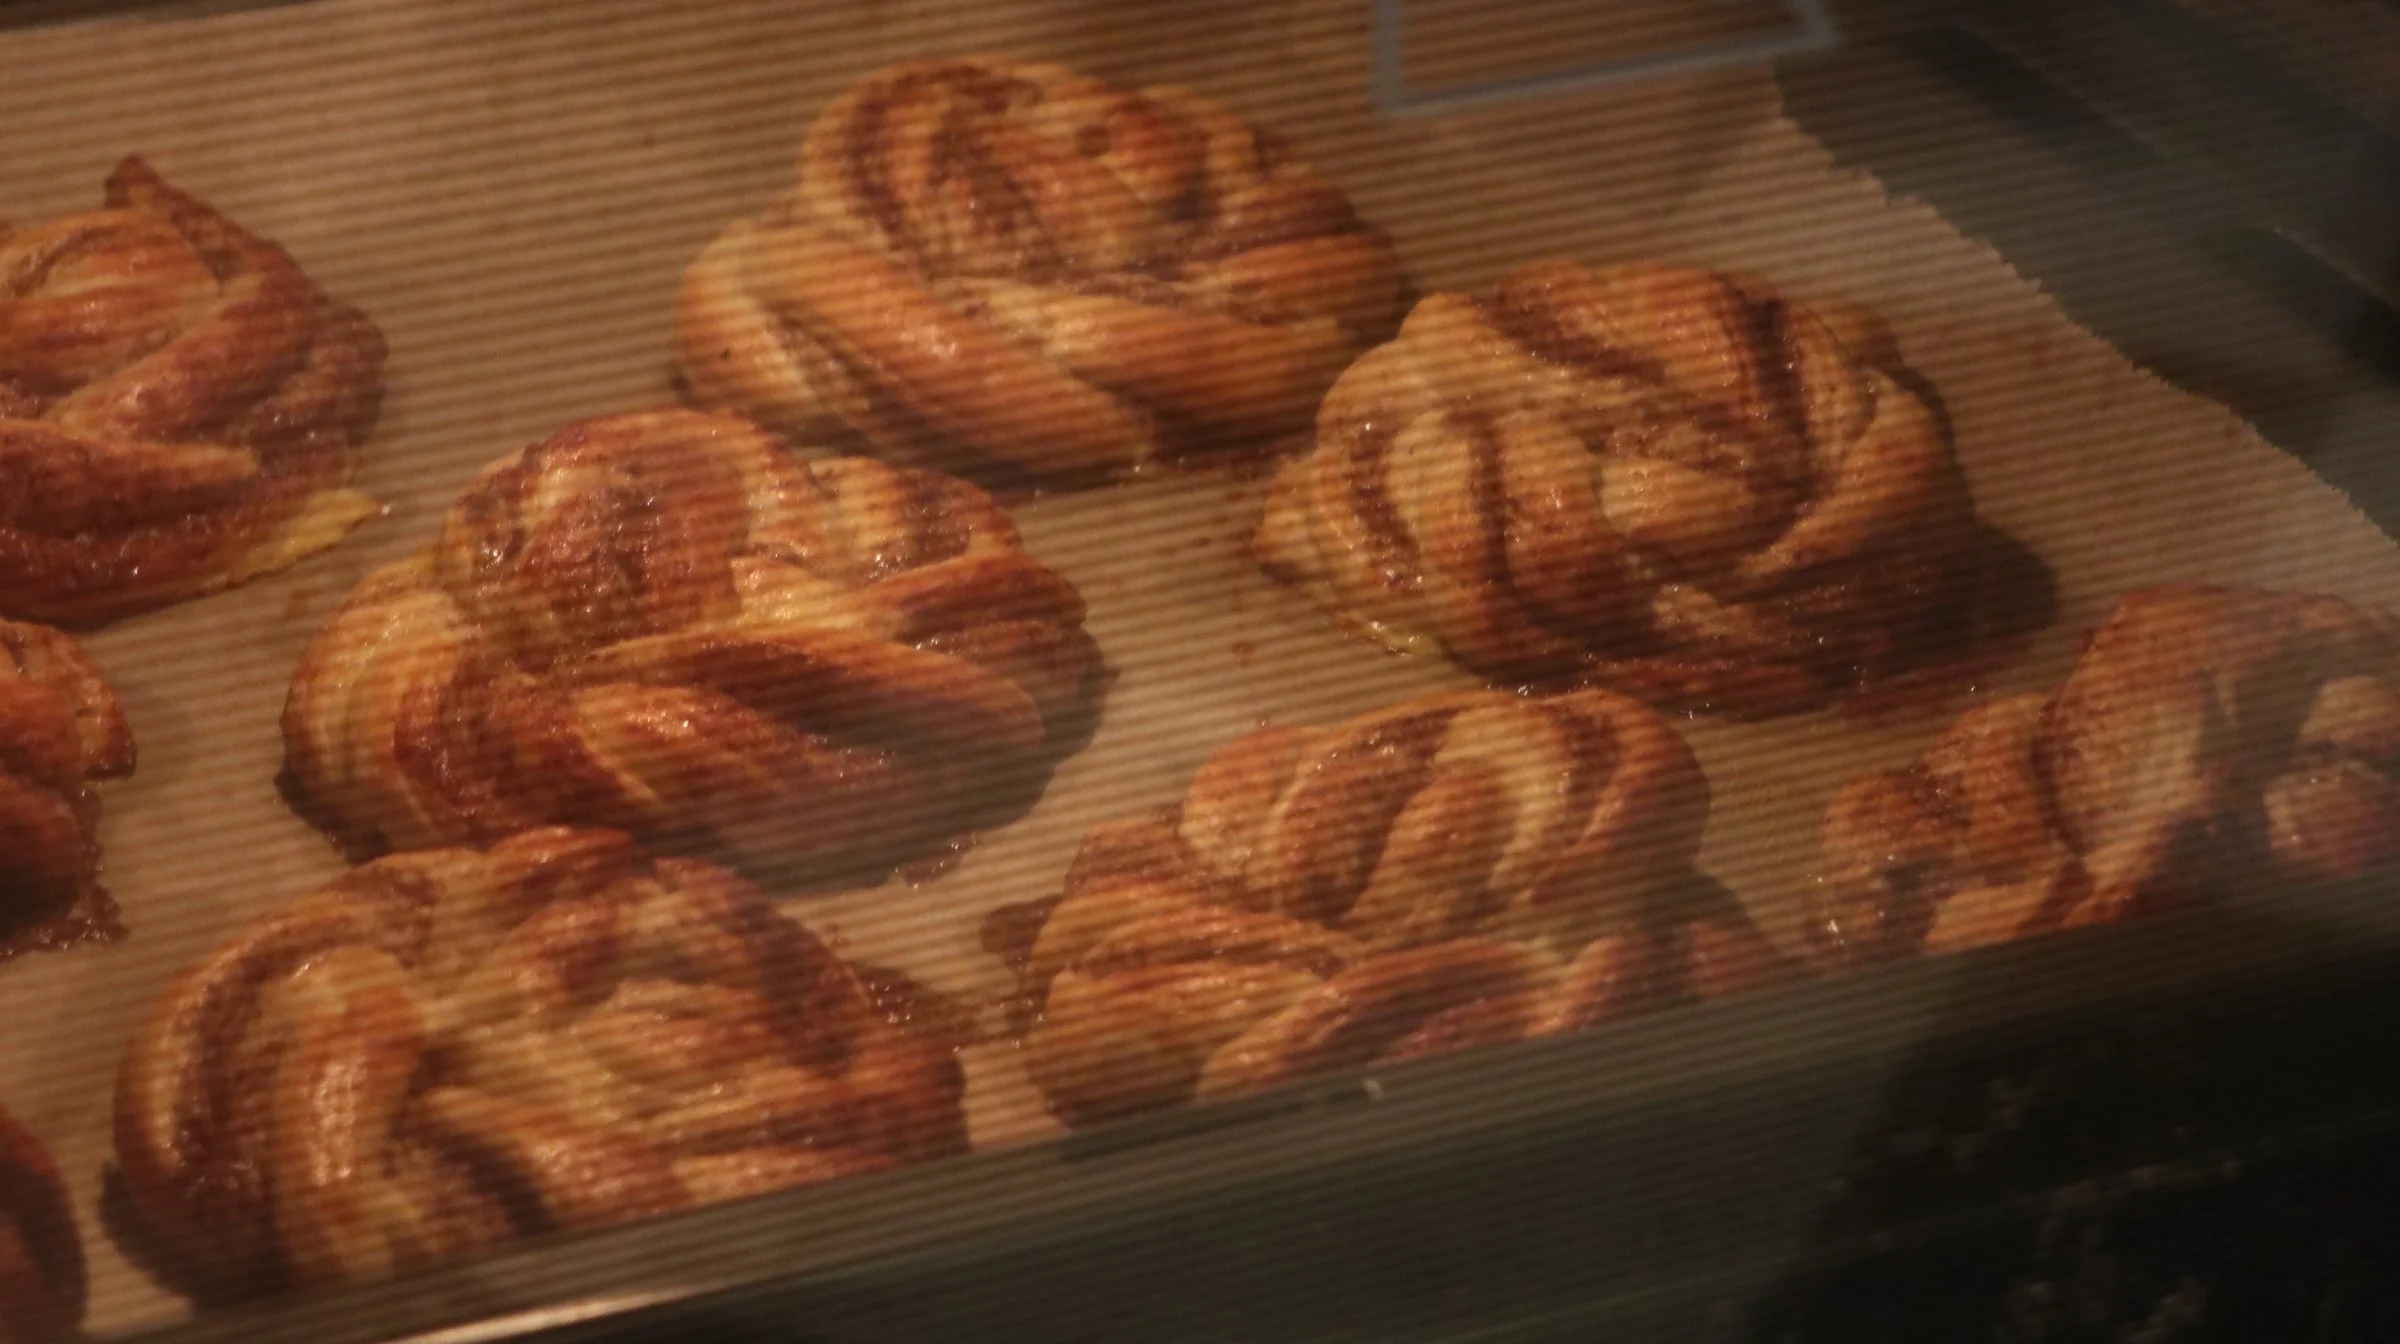
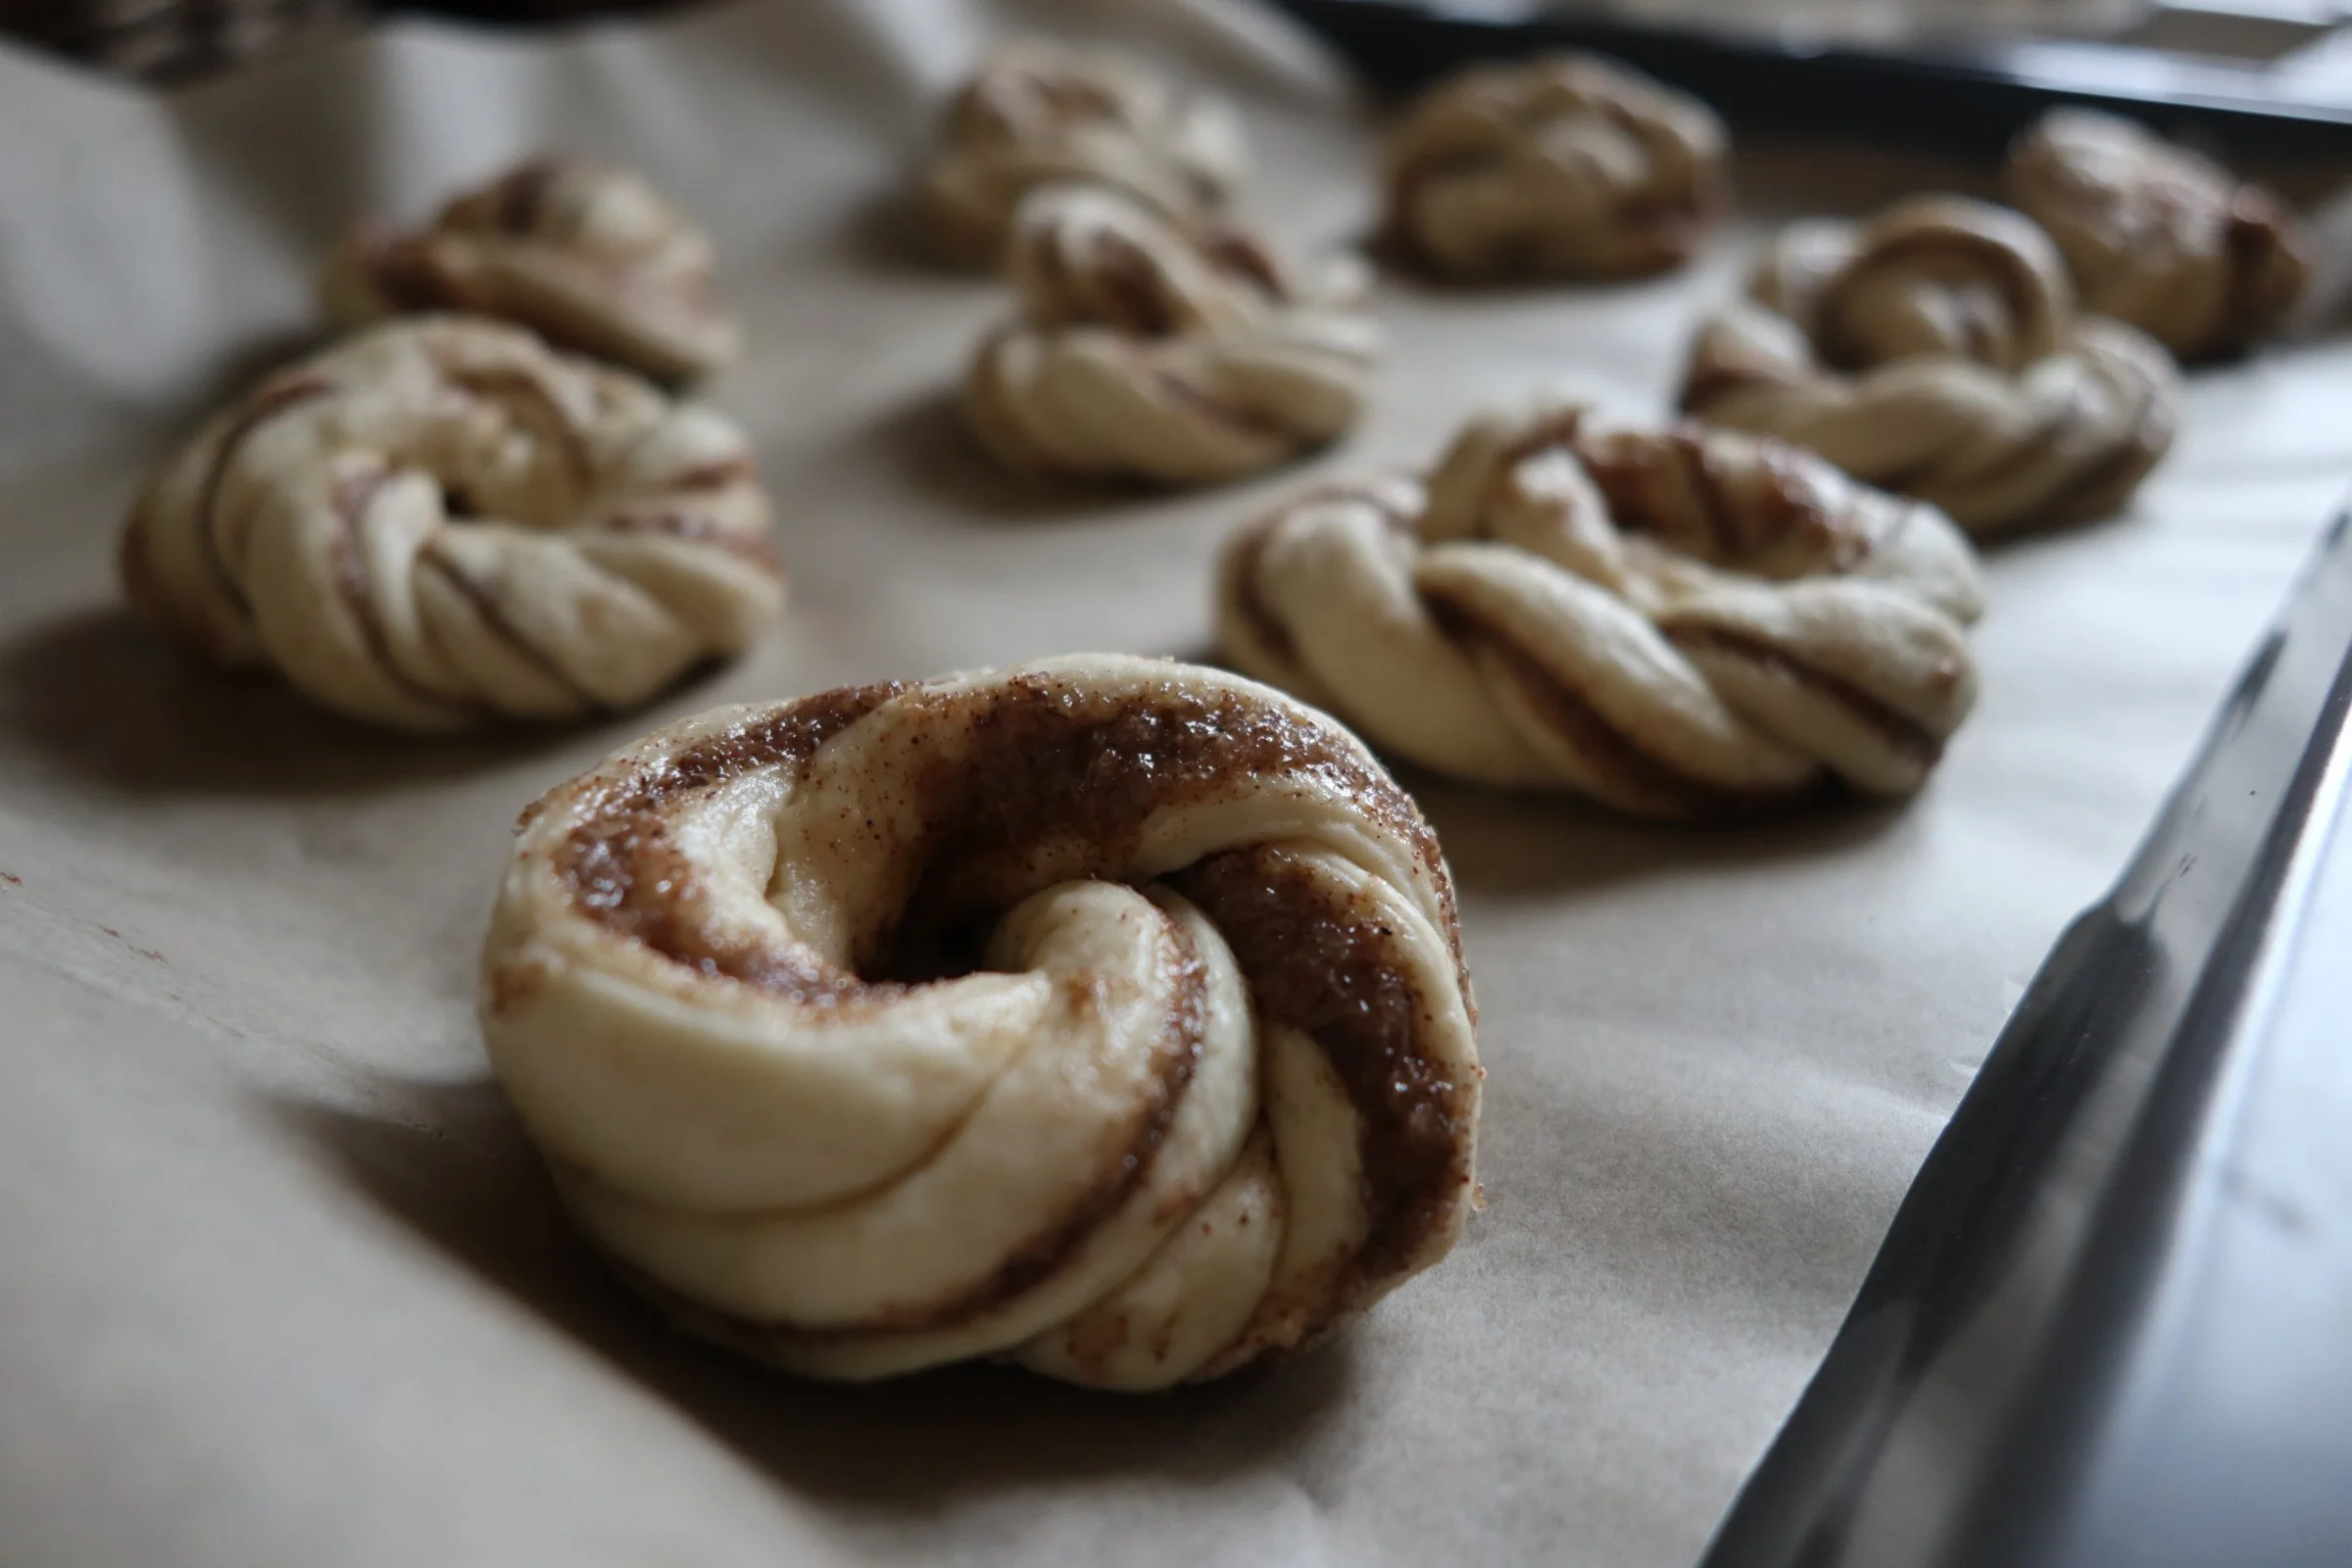
When proofed, preheat your oven to 190°C. Bake for about 15 mins (between 12 and 18 mins or until it’s browned however you like it best!)
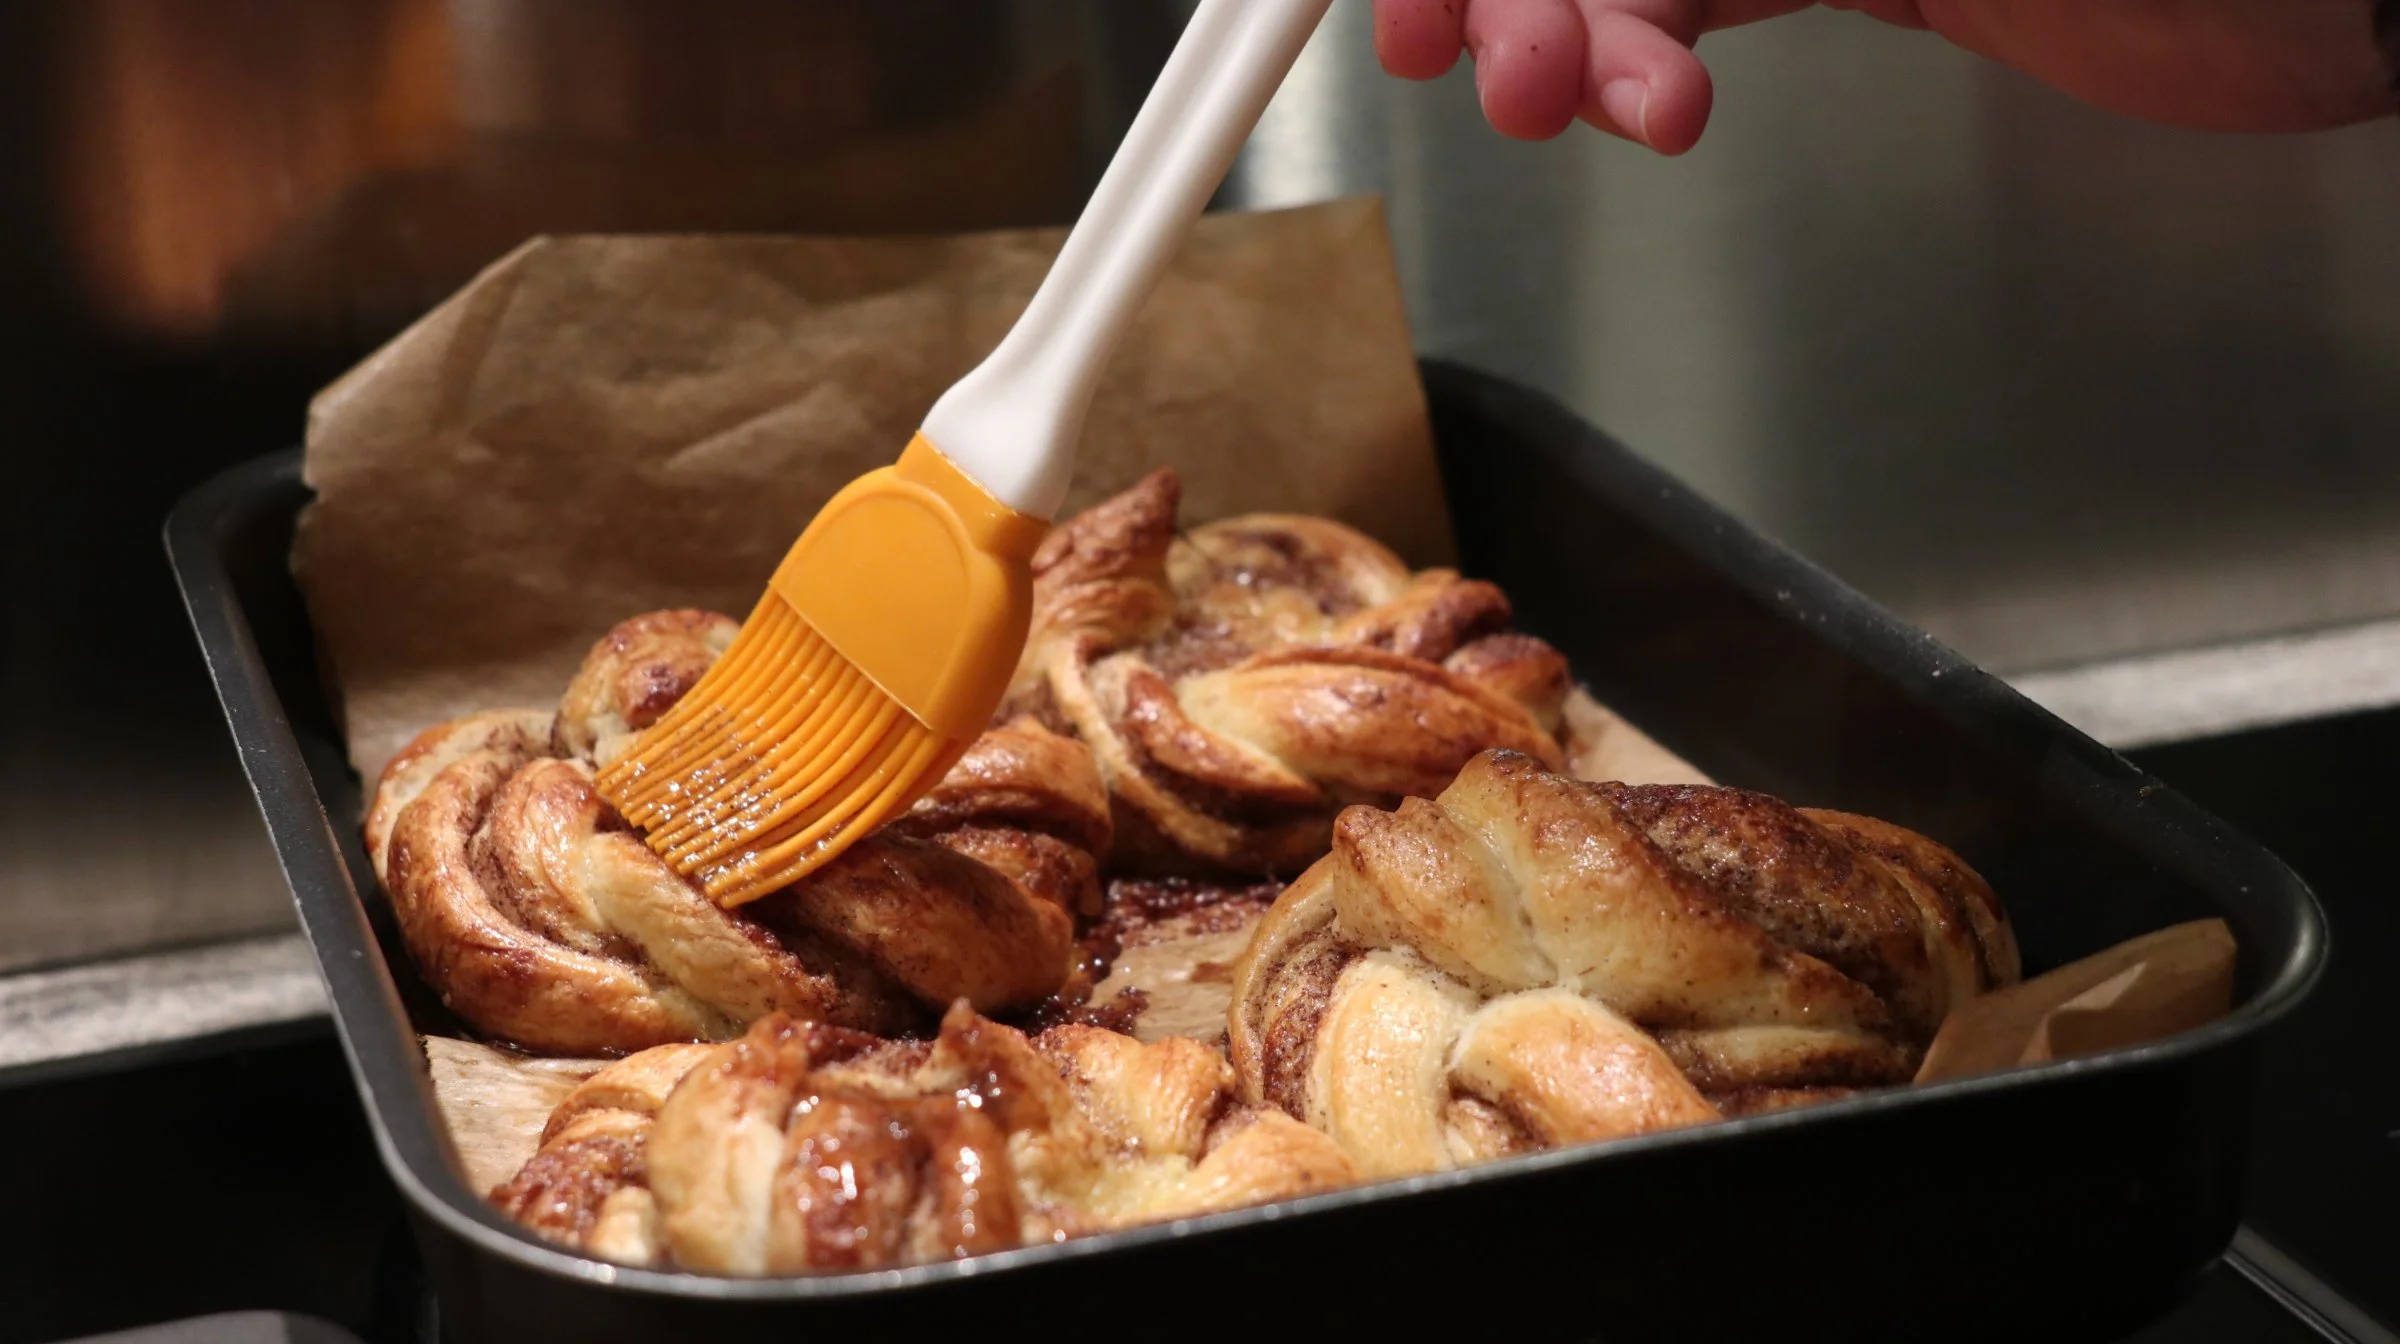
Last step and optional: Make a liquid caramel (or even a syrup). I did it by sight so I can’t give you measurements but simply heat some sugar with water and wait until it becomes thicker! My secret: when done, add some vanilla powder so your syrup/caramel is infused with vanilla!
Once baked, take them out and glaze them with the syrup! Now, enjoy and keep them in an airtight container for up to 3 days (you can also freeze them if you want). But they’re best eaten on the very same day!!
FOOD IS LOVE.
B
A
K
I
N
G
.
T
I
M
E